
Achieving a professional-level shine on your vehicle at home might seem daunting, yet with the correct approach and products, it's entirely within reach. Maintaining your car's exterior goes beyond mere aesthetics; it’s a critical aspect of preserving its finish and protecting your investment from environmental damage. This guide outlines the essential steps and techniques to wash and wax your car like a seasoned pro.
The Foundation: Why Proper Washing and Waxing Matters
Regular, meticulous exterior care significantly extends the life of your car's paintwork. Dirt, grime, road salt, bird droppings, and UV radiation are constant threats that can degrade the clear coat, leading to dullness, oxidation, and even corrosion over time. A thorough wash removes these contaminants, while a quality wax or sealant provides a sacrificial layer of protection, enhancing gloss and making subsequent cleaning easier. This isn't just about curb appeal; it's about long-term preservation.
Essential Tools and Product Selection for a Flawless Finish
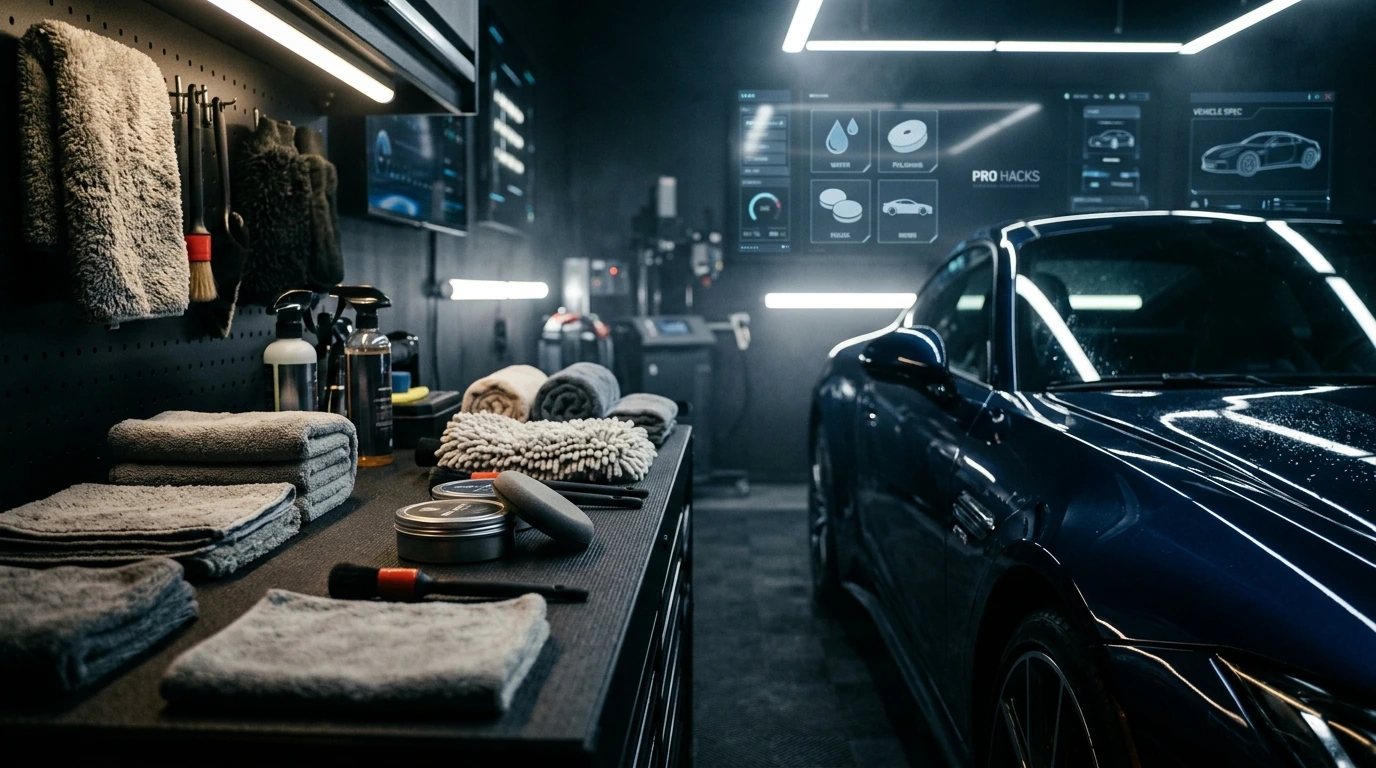
Success in car care begins with selecting the right tools and products. Opting for quality items designed for automotive use prevents damage and ensures effective results. Here’s what you’ll need:
- Pressure Washer/Garden Hose: For initial rinse and foam application.
- Foam Cannon/Gun: Attaches to a pressure washer or garden hose to apply a thick layer of car shampoo, aiding in loosening dirt.
- Two Buckets with Grit Guards: One for soapy water, one for rinsing your wash mitt. Grit guards prevent dirt from swirling back onto the mitt.
- pH-Neutral Car Shampoo: Formulated to clean effectively without stripping existing wax or damaging paint.
- Microfiber Wash Mitts: Gentle on paint, highly absorbent, and effective at trapping dirt. Avoid sponges, which can trap grit.
- Wheel Cleaner & Brushes: Specific cleaners for different wheel types (e.g., acid-free for alloy) and brushes to reach intricate areas.
- High-Quality Microfiber Drying Towels: Large, plush towels designed for maximum absorbency and streak-free drying.
- Clay Bar & Lubricant (Optional): For removing bonded contaminants that washing alone can't touch.
- Car Wax or Sealant: Choose between natural carnauba wax for deep warmth and shine, or synthetic sealants for longer-lasting protection and durability.
- Microfiber Applicator Pads: For even wax application.
- Microfiber Buffing Towels: Different from drying towels, used for removing wax residue and buffing to a shine.
PRO TIP:
Always work on a cool surface, out of direct sunlight. This prevents water spots and premature drying of shampoo or wax, which can lead to streaks and uneven application.
The Step-by-Step Process for a Showroom Finish
Following a methodical approach ensures comprehensive cleaning and protection, minimizing the risk of damage.
Pre-Wash and Wheel Cleaning
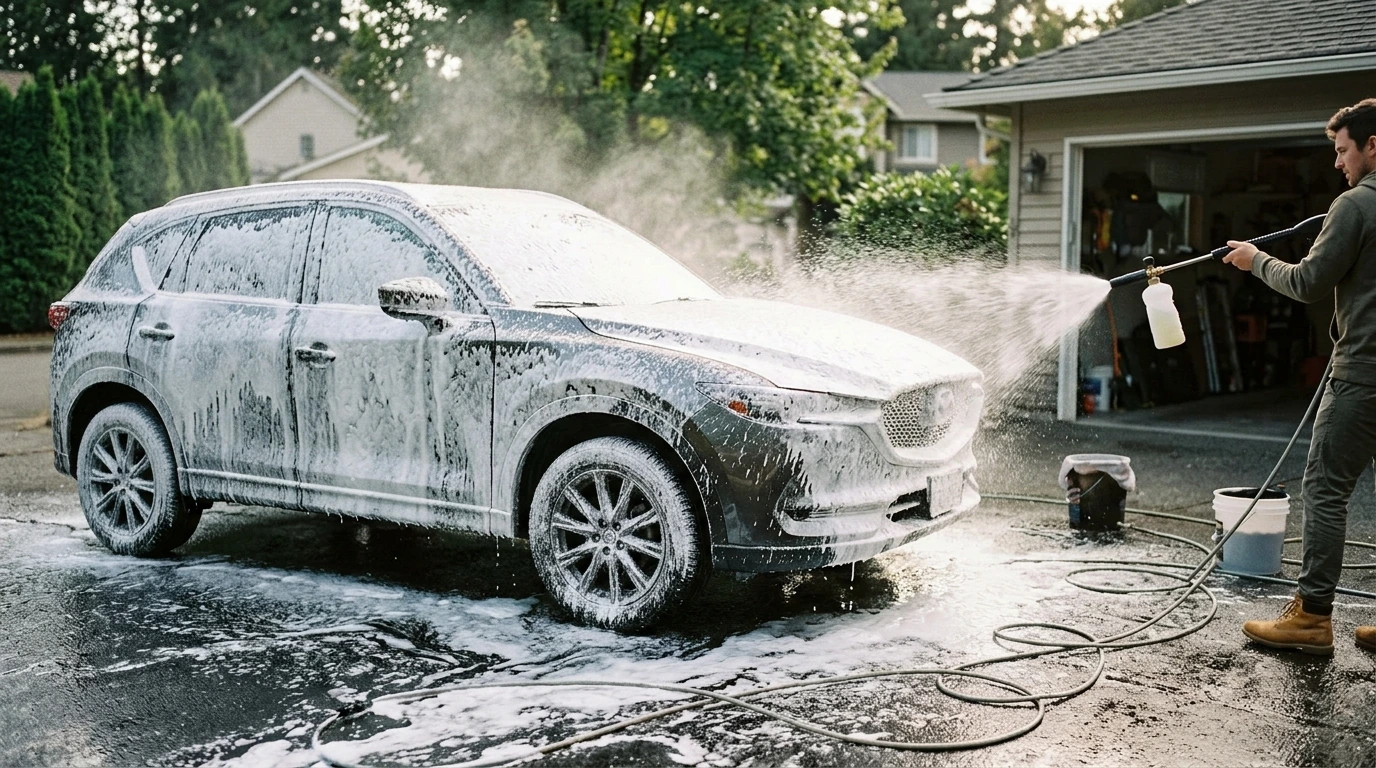
- Rinse Thoroughly: Use a pressure washer or strong garden hose spray to remove loose dirt and debris from the entire vehicle, working from top to bottom.
- Foam Application: Apply a generous layer of car shampoo via a foam cannon or gun. Allow it to dwell for 5-10 minutes to break down grime, but do not let it dry.
- Clean Wheels First: While the foam dwells, clean your wheels. Spray dedicated wheel cleaner, let it sit as directed, then agitate with wheel brushes. Rinse thoroughly before moving to the paint.
The Two-Bucket Wash Method
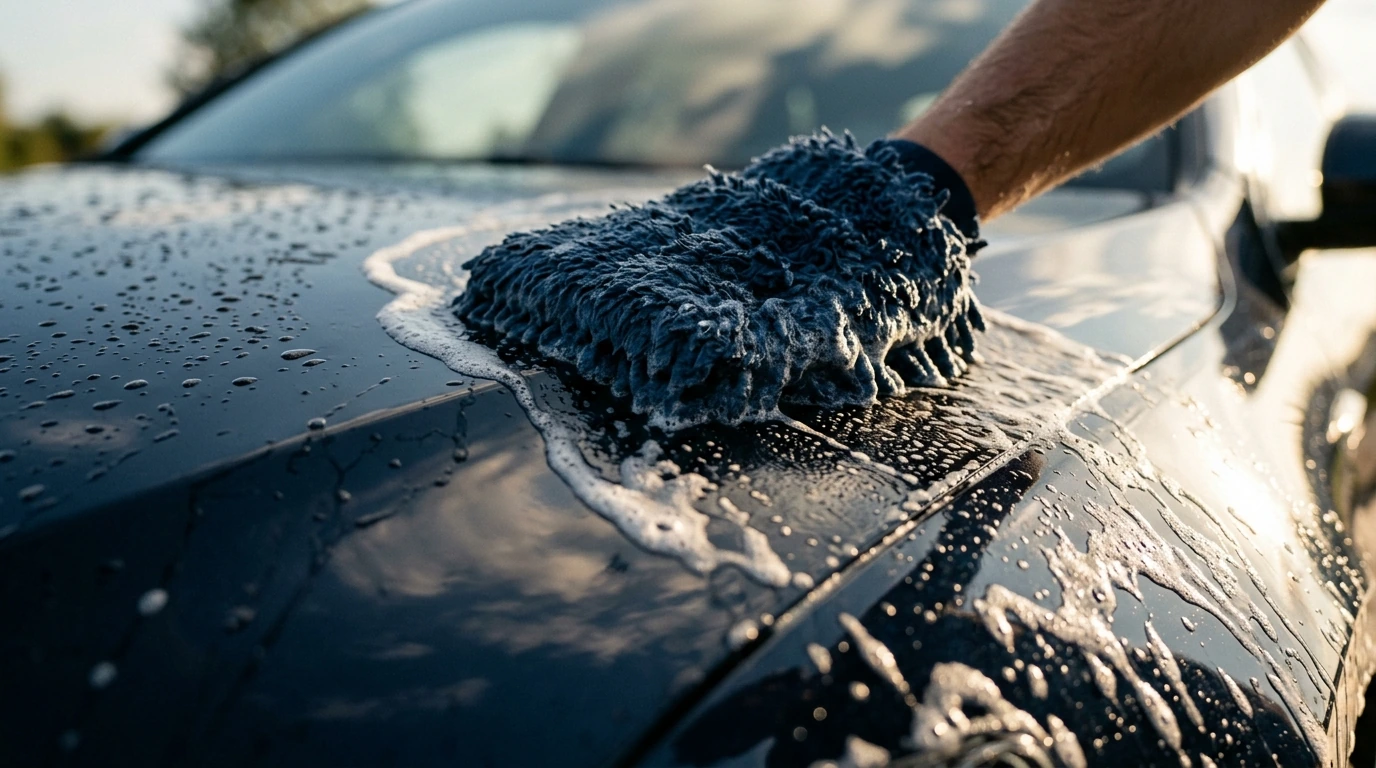
- Prepare Buckets: Fill one bucket with your pH-neutral car shampoo solution and the other with plain rinse water. Both should have grit guards.
- Wash Panels: Dip your wash mitt into the shampoo bucket, wash one small section (e.g., half a door or a quarter of the hood) using straight-line passes, not circles.
- Rinse Mitt: After each section, thoroughly rinse your mitt in the plain water bucket to release trapped dirt, then re-dip in the shampoo bucket.
- Rinse Car: Once the entire car is washed, rinse it thoroughly from top to bottom, ensuring all soap residue is removed.
Drying for a Spotless Finish
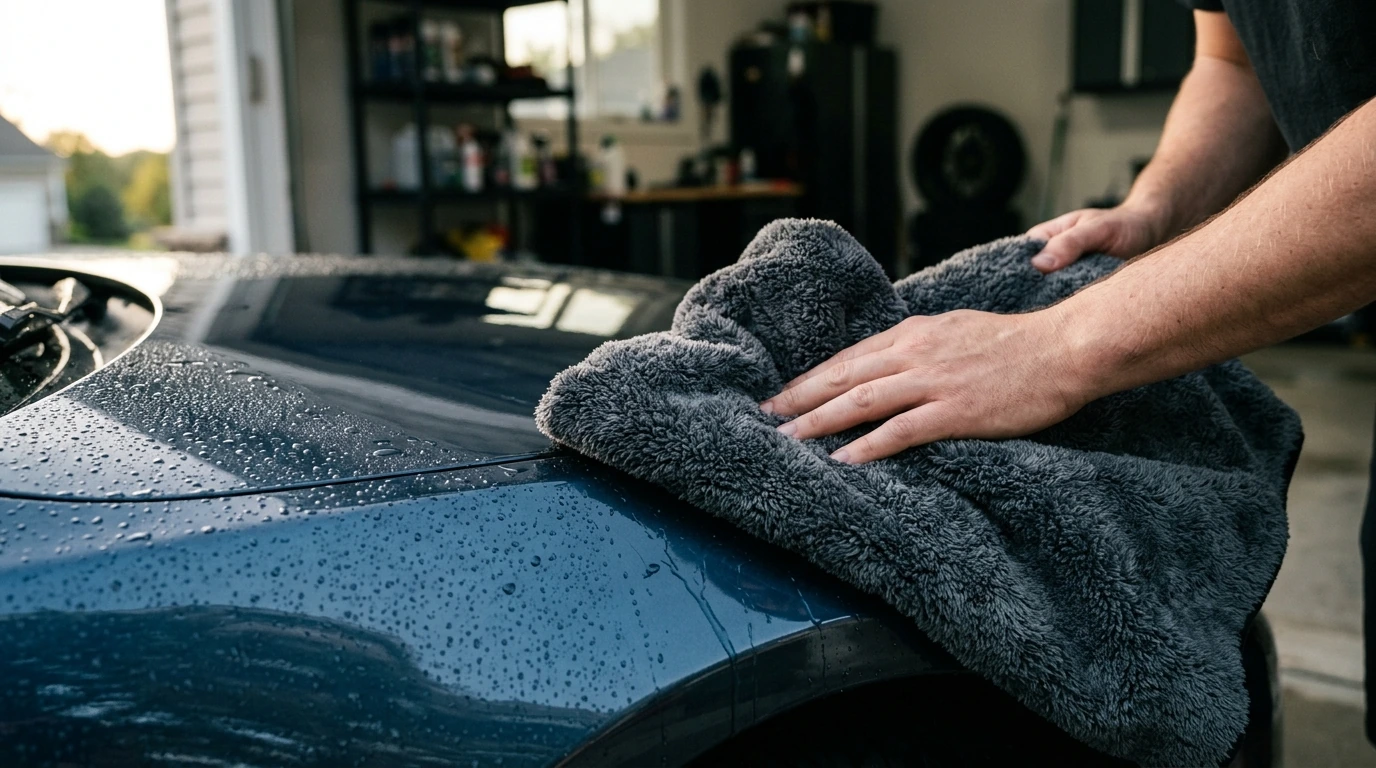
Drying is crucial to prevent water spots. Use large, clean microfiber drying towels. Gently lay the towel on a panel and pat or drag it lightly to absorb water. Avoid rubbing aggressively, which can induce swirls. Some professionals use a leaf blower or dedicated car dryer for touch-free drying before a final wipe-down.
Waxing for Protection and Shine
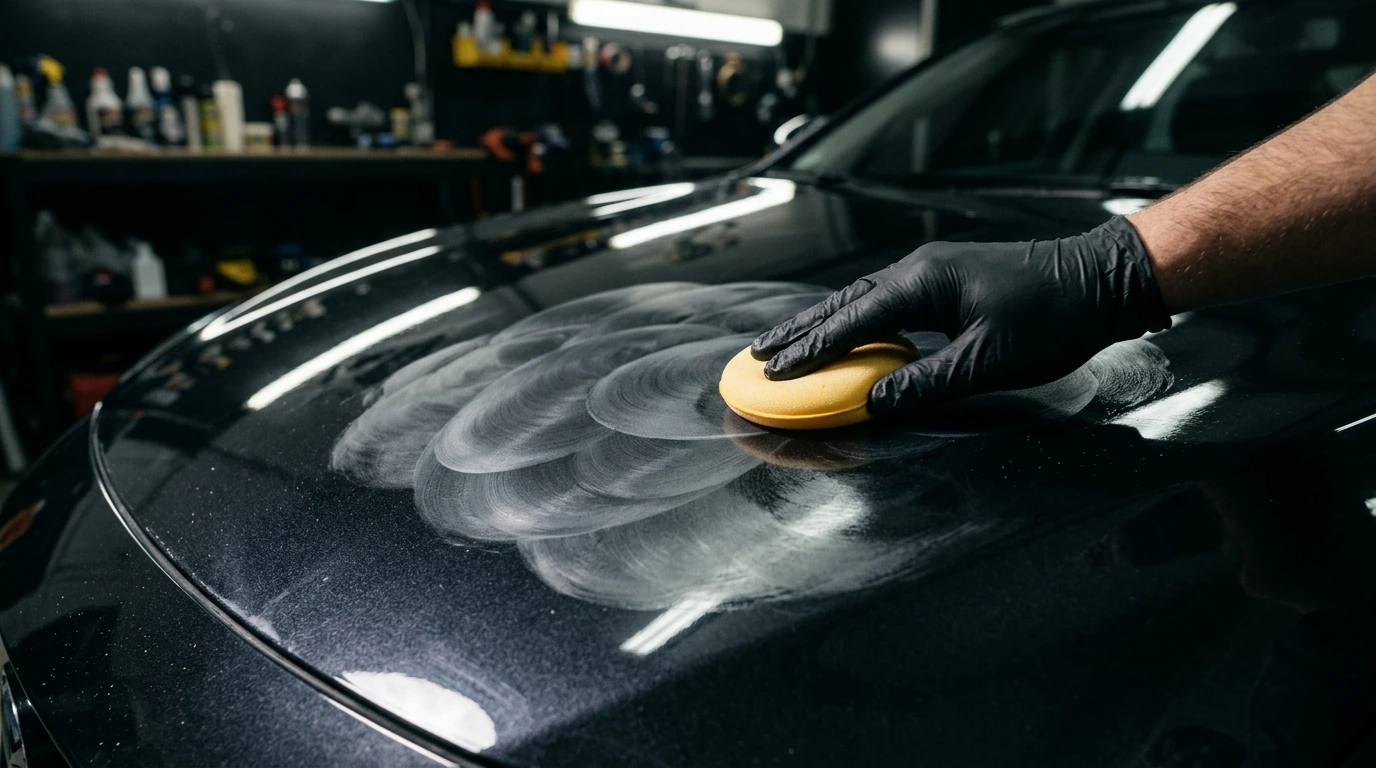
Before waxing, consider a clay bar treatment if your paint feels rough or gritty after washing and drying. This removes embedded contaminants, creating a perfectly smooth surface for wax adhesion.
- Apply Thinly: Using a foam applicator pad, apply a very thin, even layer of wax or sealant to one panel at a time. Less is often more with wax.
- Allow to Haze: Let the wax cure and haze according to the manufacturer's instructions (typically a few minutes).
- Buff Off: With a clean, soft microfiber buffing towel, gently buff away the haze using light pressure and overlapping passes. Flip the towel frequently to a clean side.
- Inspect: After buffing, inspect the panel for any missed spots or streaks. Repeat for all painted surfaces.
Evaluating the DIY Approach vs. Professional Detailing
Deciding whether to wash and wax your car yourself or hire a professional involves weighing several factors.
Benefits of DIY Car Care:
- Cost Savings: Over time, doing it yourself is significantly cheaper than regular professional detailing.
- Control: You choose the products and techniques, ensuring they meet your specific standards and preferences.
- Personal Satisfaction: There's a genuine sense of accomplishment in maintaining your vehicle's pristine condition.
- Flexibility: You can wash and wax on your schedule, whenever the weather permits or your car needs attention.
Considerations for DIY Car Care:
- Time Commitment: A thorough wash and wax can take several hours, especially for larger vehicles.
- Initial Investment: Purchasing quality tools and products requires an upfront cost.
- Learning Curve: Mastering proper techniques takes practice to avoid common mistakes like swirling or streaking.
- Physical Effort: It can be a physically demanding task.
Who Benefits Most from At-Home Car Detailing?
This comprehensive DIY approach is ideal for car enthusiasts who enjoy the process of maintaining their vehicle, individuals looking to save money on recurring detailing costs, and anyone who wants direct control over the products used on their car. If you have the time, the space, and a willingness to learn, washing and waxing your car at home can yield results comparable to professional services, all while building a deeper connection with your vehicle. The longevity of your car's exterior finish is a direct reflection of the care it receives, making this investment of time and effort truly worthwhile.