
Encountering a flat tire can be a daunting experience, especially if it's your first time dealing with one. Yet, knowing how to perform a tire swap is a fundamental skill for any driver, offering peace of mind and self-reliance on the road.
This guide provides a clear, step-by-step approach to safely changing a flat tire, ensuring you can manage this common roadside scenario with confidence. Let's get your vehicle back in motion.
Key Takeaways
- Safety First: Always prioritize your safety and the safety of others by pulling over to a secure, level spot and activating hazard lights.
- Tools Readiness: Confirm you have a spare tire (inflated), a jack, a lug wrench, and your vehicle's owner's manual before starting.
- Proper Jacking: Identify the correct jacking points specified by your vehicle's manufacturer to prevent damage or instability.
- Temporary Solution: A spare tire is typically for temporary use; drive cautiously to the nearest service center for a full-size tire repair or replacement.
Immediate Readiness Check
Before you even consider touching a lug nut, a quick assessment of your situation and available resources is essential. This ensures you have everything required and can proceed safely.
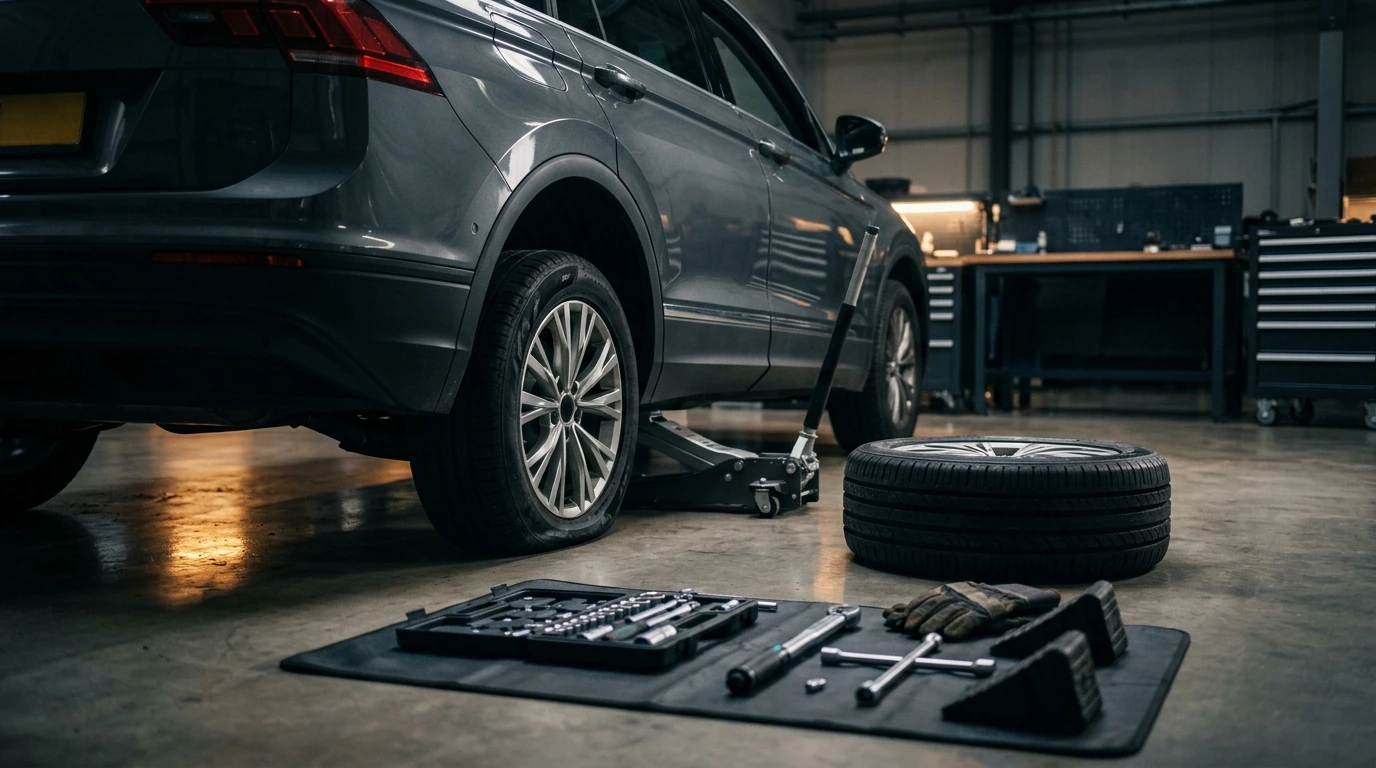
Essential Gear for a Tire Change
Most vehicles include a standard set of tools for tire emergencies. Verify you have these items readily accessible:
- Spare Tire: Ensure it's properly inflated. Check its pressure periodically, as recommended by manufacturers, even if unused.
- Vehicle Jack: This is used to lift the car. Familiarize yourself with its operation.
- Lug Wrench: Designed to loosen and tighten the lug nuts holding the wheel.
- Owner's Manual: Crucial for locating specific jacking points and torque specifications for lug nuts.
- Wheel Chocks (Optional but Recommended): Blocks placed behind wheels to prevent the vehicle from rolling.
- Work Gloves: Protect your hands from dirt and sharp edges.
- Flashlight/Headlamp: Indispensable for nighttime or low-light situations.
Prioritizing Roadside Safety
Your safety and the safety of others on the road are paramount. Taking the correct precautions before beginning any work on your vehicle is non-negotiable.
- Find a Safe Location: Pull over to a flat, stable, and safe area away from traffic. A paved shoulder or parking lot is ideal. Avoid soft ground or inclines.
- Engage Hazard Lights: Immediately activate your vehicle's hazard warning lights to alert other drivers to your presence.
- Apply Parking Brake: Firmly engage your vehicle's parking brake to prevent any unintended movement.
- Chock Wheels: If you have wheel chocks, place them behind the tire diagonally opposite the flat tire. For instance, if the front right tire is flat, chock the rear left wheel.
- Remove Wheel Cover (if applicable): Some wheels have a hubcap or wheel cover that needs to be pried off to access the lug nuts. Use the flat end of your lug wrench or a screwdriver if needed.

The Step-by-Step Tire Swap
With safety measures in place, you can now proceed with the actual tire changing process.
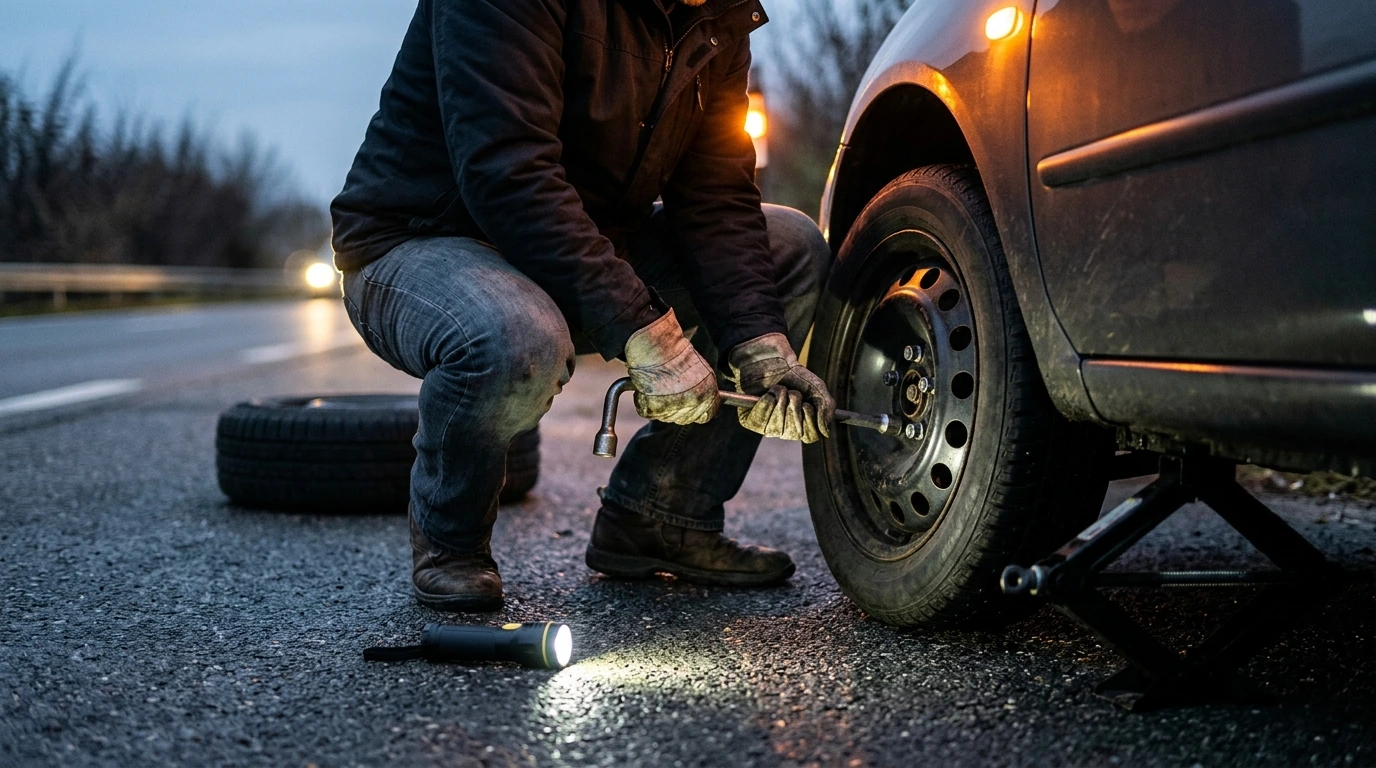
- Loosen Lug Nuts: Using the lug wrench, turn the lug nuts counter-clockwise to loosen them. Do not remove them completely yet. Apply force by pushing down on the wrench or standing on it if necessary. If the nuts are stubborn, a short pipe over the wrench handle can provide extra leverage, though this should be done with caution to avoid stripping the nuts.
- Position the Jack: Consult your owner's manual to find the correct jacking point near the flat tire. This is typically a reinforced area on the vehicle's frame. Incorrect placement can cause severe damage to your vehicle or lead to the jack slipping.
- Raise the Vehicle: Slowly raise the vehicle with the jack until the flat tire is completely off the ground. Ensure the vehicle remains stable throughout this process. The tire should be high enough to allow the inflated spare to fit underneath.
PRO TIP: Lug Nut Direction
Remember the common adage: "Righty-tighty, lefty-loosey." You'll turn the lug wrench counter-clockwise to loosen the nuts and clockwise to tighten them. If they're extremely tight, use your body weight for leverage, but always ensure a firm grip to prevent slips.

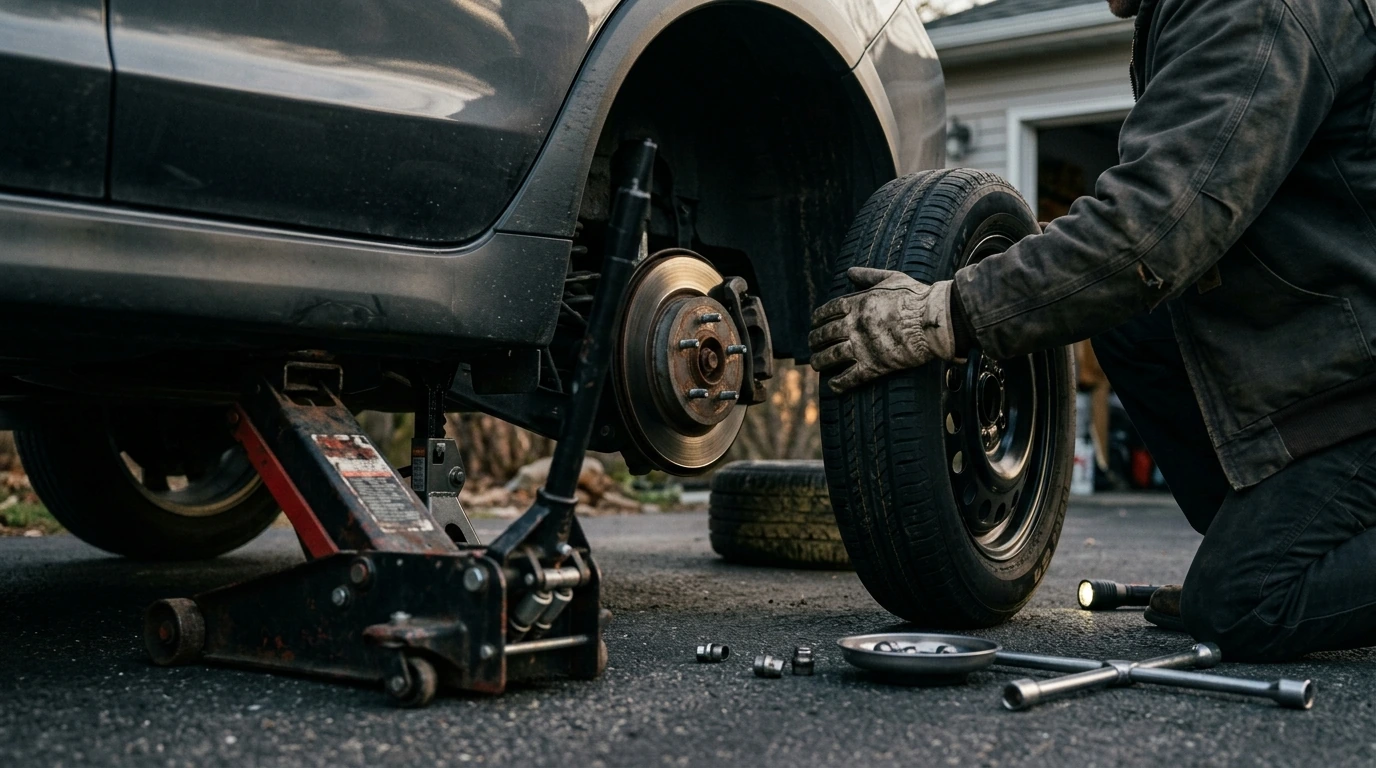
- Remove Lug Nuts and Flat Tire: Once the tire is clear of the ground, fully unscrew the lug nuts and place them in a safe spot, like the wheel cover or a pocket, to prevent them from rolling away. Carefully pull the flat tire straight off the wheel studs and lay it flat on the ground.
- Mount the Spare Tire: Lift the spare tire and align its holes with the wheel studs. Carefully push the spare tire onto the studs until it sits flush against the hub.
Finalizing the Installation
The new tire is on, but the job isn't quite done. Proper tightening and a final check are crucial.
- Hand-Tighten Lug Nuts: Reinstall the lug nuts by hand, turning them clockwise until they are snug.
- Lower the Vehicle: Slowly lower the vehicle until the spare tire makes contact with the ground, but the full weight of the car is not yet resting on it.
- Tighten Lug Nuts in a Star Pattern: With the tire partially on the ground, use the lug wrench to tighten the nuts firmly. Work in a star or crisscross pattern to ensure even tightening, which helps seat the wheel properly and prevents warping. Do not overtighten at this stage; a final torque will be applied once the vehicle is fully lowered.
- Fully Lower Vehicle & Remove Jack: Completely lower the vehicle to the ground and remove the jack.
- Final Torque: Give each lug nut a final, firm tighten with the lug wrench in the star pattern. Manufacturer specifications for lug nut torque are typically found in your owner's manual. While a torque wrench is ideal for precise tightening, a firm hand-tightening with a lug wrench is acceptable for a temporary spare.
- Replace Wheel Cover (if applicable): Reinstall the wheel cover if your vehicle has one.
- Stow Equipment: Store the flat tire, jack, lug wrench, and any other tools securely in your vehicle.
Common Mistakes to Avoid
Even with clear instructions, certain errors can compromise safety or damage your vehicle:
- Not Securing the Vehicle: Failing to use the parking brake or chocks can result in the vehicle rolling off the jack.
- Incorrect Jack Placement: Using the wrong jacking point can damage the vehicle's undercarriage or cause the jack to slip.
- Overtightening/Undertightening Lug Nuts: Overtightening can strip threads or warp rotors; undertightening can cause the wheel to come loose.
- Ignoring Spare Tire Limitations: "Donut" or temporary spare tires have speed and distance restrictions. Adhere to these limits, typically 50 mph (80 km/h) and a maximum distance of 50-70 miles (80-110 km).
- Forgetting to Check Spare Tire Pressure: An underinflated spare is as useless as a flat one.
Post-Swap Verification
After successfully changing the tire, a few final checks are necessary:
- Check Lug Nut Tightness: Drive a short distance (5-10 miles) and then re-check the lug nuts for tightness. They can sometimes loosen slightly after initial driving.
- Verify Spare Tire Pressure: Confirm the spare tire's pressure is at the recommended PSI. If unsure, visit a gas station or service center.
- Address the Flat Tire: Take your flat tire to a reputable automotive service center as soon as possible. They can assess if it's repairable or if a new tire is needed.
- Replace or Repair: Remember, a temporary spare is not a permanent solution. Plan to repair or replace your full-size tire promptly.
Frequently Asked Questions
Q: How often should I check my spare tire's pressure?
A: Automotive experts generally recommend checking your spare tire's pressure at least once every three months, or each time you rotate your main tires. An underinflated spare may not be safe to use when needed.
Q: Can I drive long distances on a spare tire?
A: Most compact spare tires (often called "donuts") are designed for temporary use only, typically limited to 50-70 miles (80-110 km) at speeds no greater than 50 mph (80 km/h). Driving beyond these limits can compromise safety and potentially damage the spare or your vehicle's drivetrain.
Q: What if my car doesn't have a spare tire?
A: Many newer vehicles come equipped with a tire repair kit instead of a spare. These kits typically include a sealant and a small air compressor. Familiarize yourself with how to use your specific kit, or be prepared to call roadside assistance if a repair kit isn't sufficient for the damage.