
Few things are as critical to safe driving as clear visibility, and worn windshield wipers can quickly compromise it. Fortunately, replacing your car's wiper blades is among the simplest and quickest DIY automotive tasks, often taking less than five minutes per side. This guide will walk you through the process, ensuring you restore optimal vision with confidence.
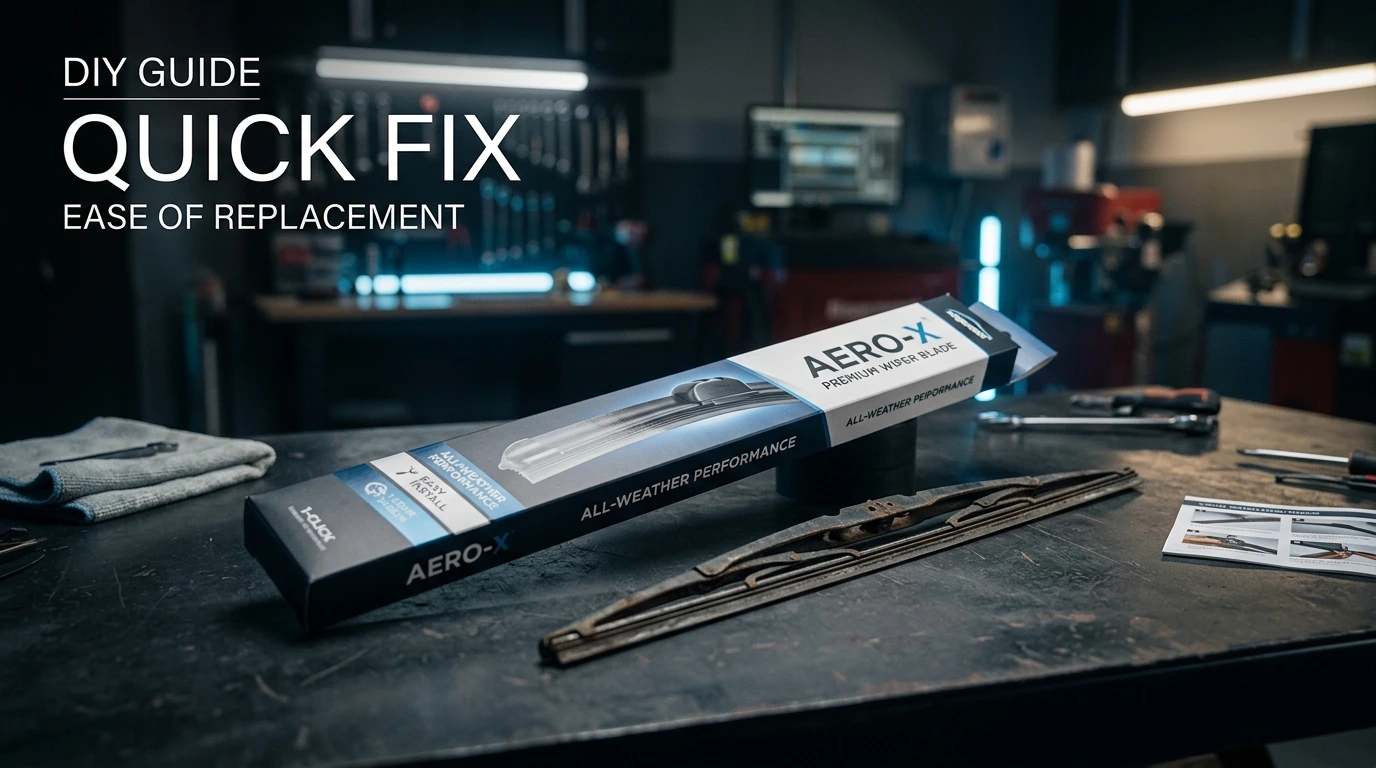
Key Takeaways
- Worn wipers cause streaks, chattering, and reduced visibility, posing a safety hazard.
- Gather your new wiper blades (correct size!), a clean cloth, and potentially a small flathead screwdriver.
- The replacement process typically involves lifting the arm, releasing a tab, sliding off the old blade, and snapping on the new one.
- Always test the new blades with windshield washer fluid to ensure even contact and streak-free operation.
Spotting Worn Wipers and Gathering Your Gear
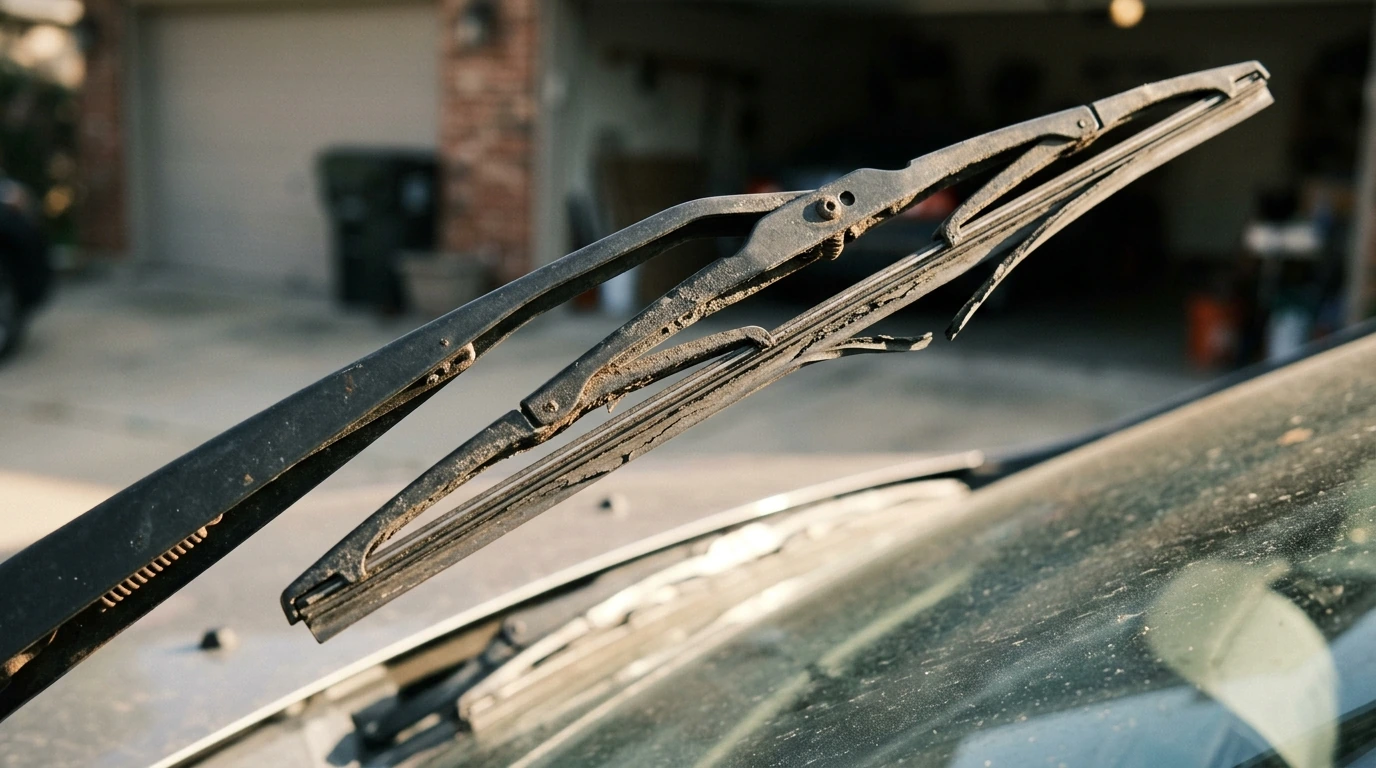
Before diving into the replacement, it's essential to recognize the signs that your wipers are past their prime. Common indicators include streaking across the windshield, chattering or skipping noises, smearing, or sections of the blade lifting off the glass. Most manufacturers recommend replacing wiper blades every six to twelve months, though environmental factors can shorten this lifespan.
For a smooth replacement, you'll need just a few items:
- New Wiper Blades: Ensure you have the correct length and connector type for your specific vehicle. Refer to your car's owner's manual or an automotive parts store's fitment guide.
- Clean Cloth or Towel: To protect your windshield in case the wiper arm springs back.
- Small Flathead Screwdriver (Optional): Some older or less common wiper blade connectors might require gentle prying.
The Quick-Change Process: Your Step-by-Step Guide
Most modern vehicles utilize a "J-hook" or similar universal connector, making the swap remarkably straightforward. Always replace one blade at a time to keep a reference if needed.
- Lift the Wiper Arm: Gently pull the wiper arm away from the windshield until it locks into its upright service position. Place a clean towel on the windshield beneath the arm as a safeguard against accidental drops.
- Orient the Old Blade: Rotate the old wiper blade so it's perpendicular to the wiper arm. This usually exposes the locking mechanism.
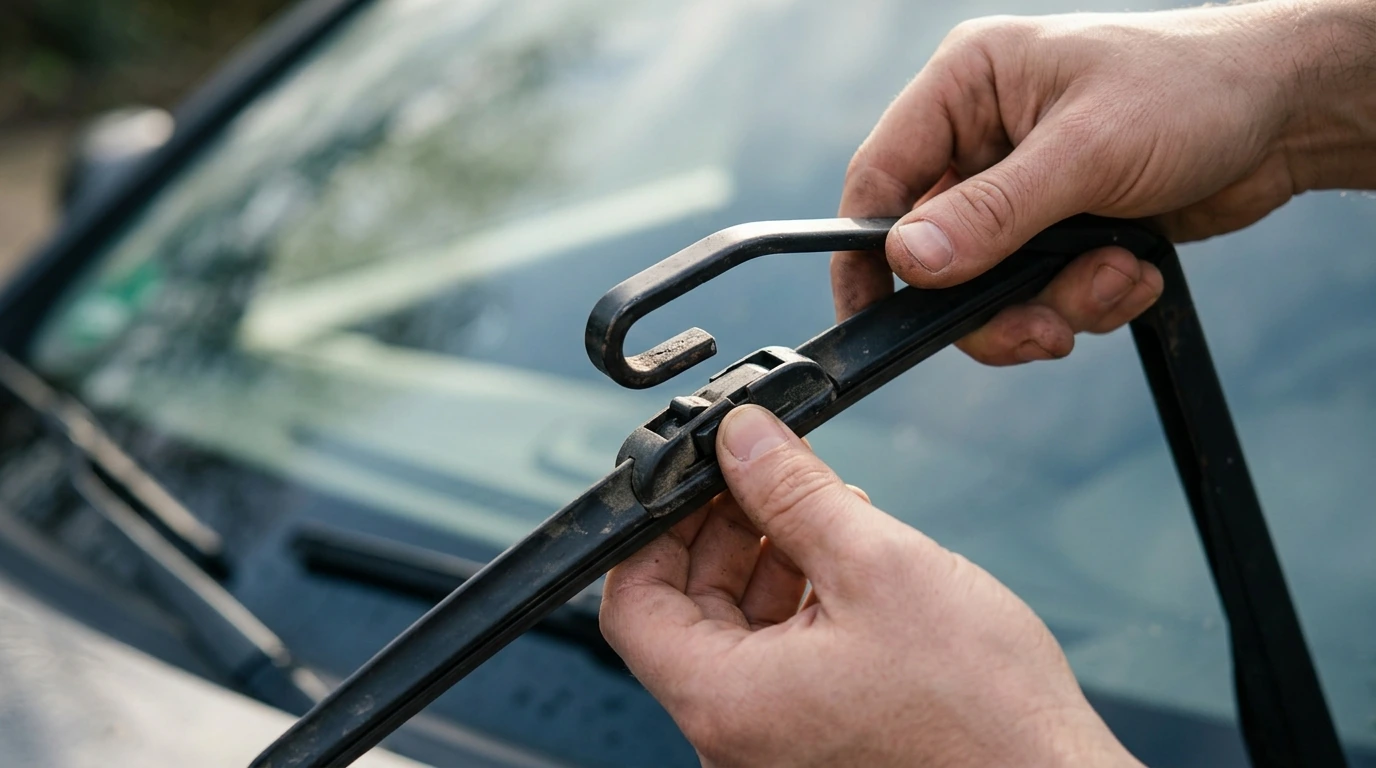
- Release the Locking Tab: Depending on your blade type, you'll either press a small tab, squeeze a button, or lift a lever where the blade connects to the arm. For J-hook designs, you typically depress a small tab on the underside of the connector.
- Slide Off the Old Blade: Once the tab is depressed, slide the old blade down and off the J-hook (or away from the connector type). Hold the wiper arm firmly to prevent it from snapping back against the windshield.
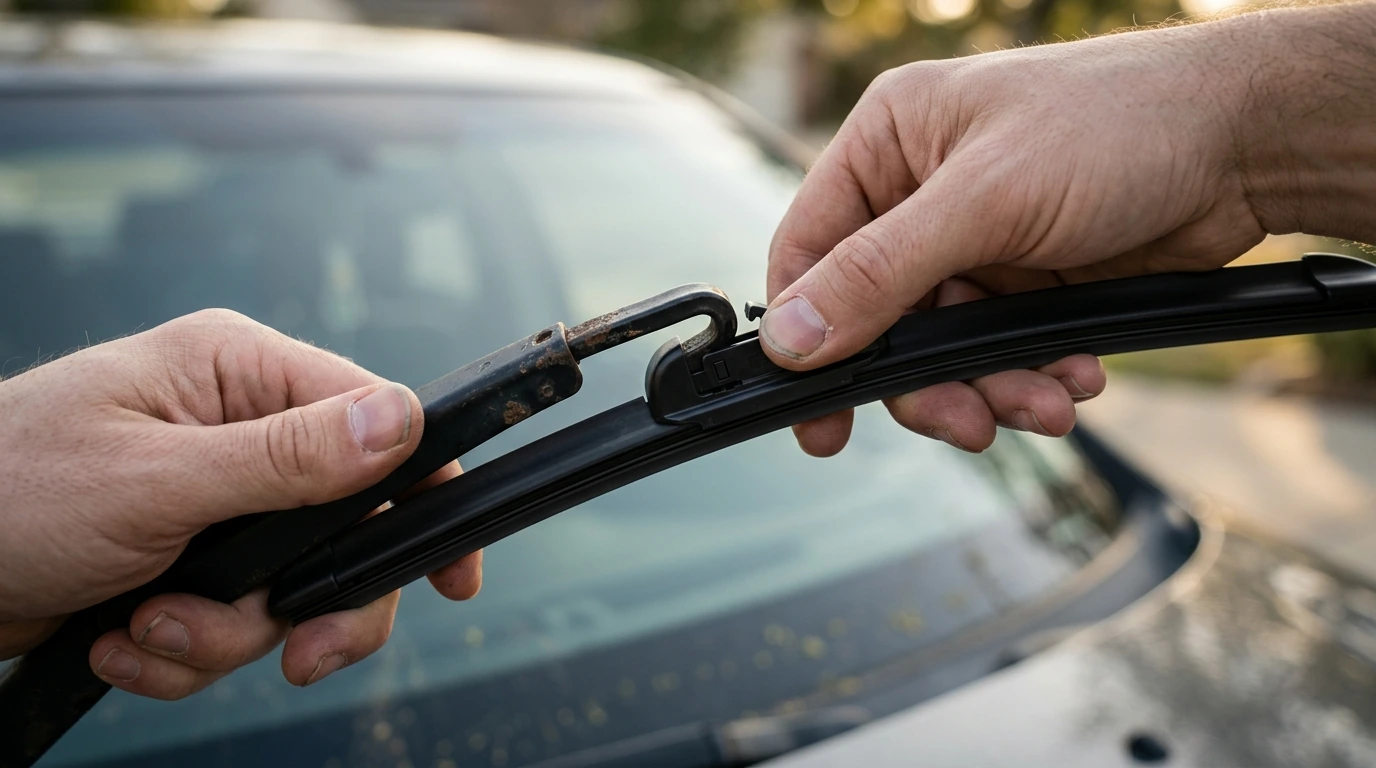
- Install the New Blade: Slide the new wiper blade onto the wiper arm connector in the reverse direction. Ensure the locking tab clicks securely into place. Give it a gentle tug to confirm it's seated properly.
- Gently Lower the Arm: Carefully lower the wiper arm back onto the windshield. Do not let it snap down, as this can damage the windshield or the arm mechanism.
- Repeat for the Other Side: Follow the same steps for the passenger side wiper blade. Note that the passenger side blade is often shorter than the driver's side.
Common Errors and How to Prevent Them
Even a simple task can have minor pitfalls. Being aware of these can save you time and frustration.
- Incorrect Blade Size: Installing blades that are too long can cause them to hit each other or the windshield frame, while blades that are too short leave unwiped areas. Always verify the correct lengths for both driver and passenger sides.
- Damaging the Windshield: Allowing the metal wiper arm to snap back onto the glass without a blade can cause chips or cracks. Always use a towel as a buffer or hold the arm securely.
- Improper Connector Engagement: If the new blade isn't fully seated and the locking tab hasn't clicked, it could detach while driving. Double-check the connection with a gentle tug.
- Forcing the Blade: If a blade isn't sliding on or off easily, check the locking mechanism or the blade's orientation. Forcing it can break the plastic connector on the arm or the blade itself.
- Mixing Blade Types: While many blades are universal, some vehicles require specific OEM-style connectors. Ensure your replacement blades match your vehicle's requirements.
Confirming Success: Post-Installation Verification
Once both new blades are installed, a quick test confirms they are working correctly and ready for the road.
- Visual Inspection: Ensure both blades are lying flat against the windshield and appear parallel to each other when resting.
- Manual Check: Gently lift and lower each blade a few times to confirm the connection is secure and there's no excessive play.
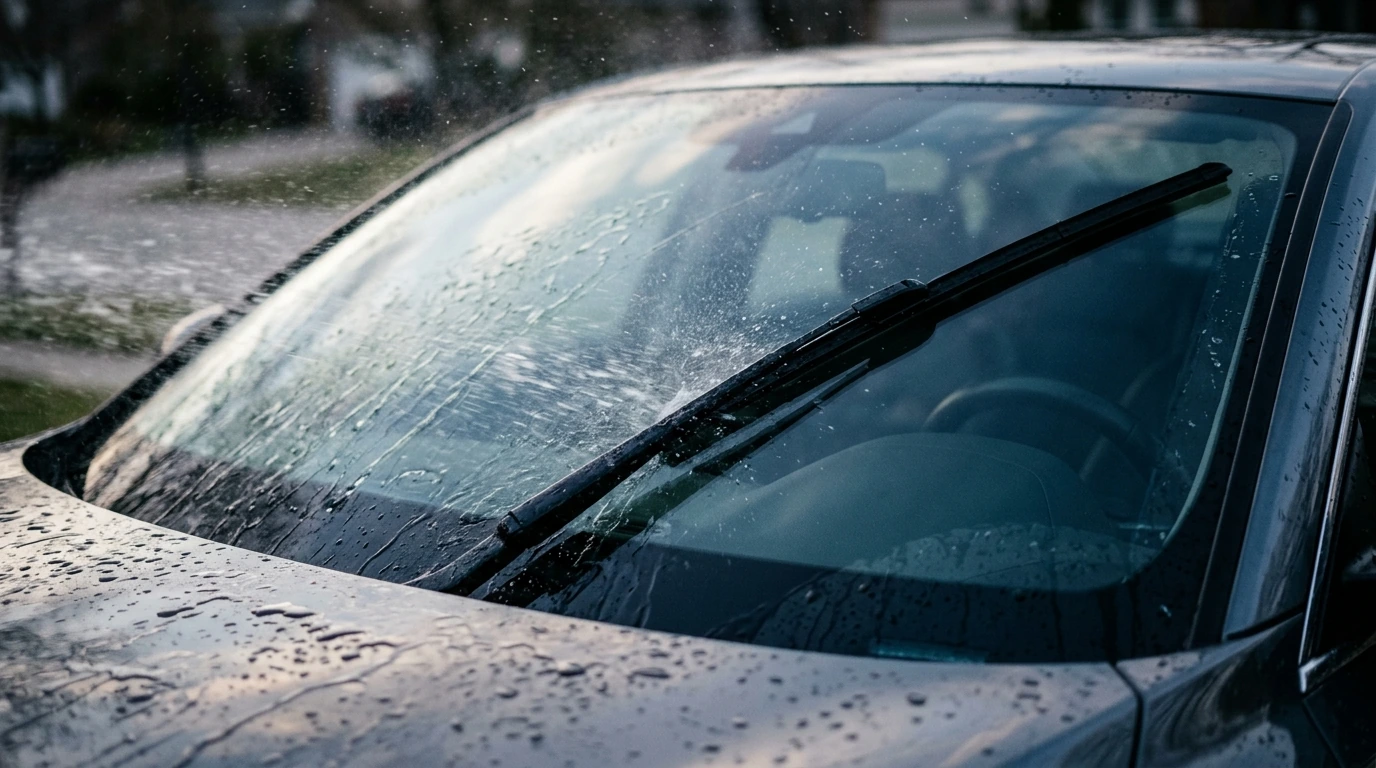
- Wet Test: Turn on your vehicle, spray the windshield with washer fluid, and activate the wipers on their slowest setting. Observe for:
- Streak-Free Wiping: The blades should clear water evenly without leaving lines or unwiped spots.
- Smooth Operation: There should be no chattering, squeaking, or skipping across the glass.
- Full Coverage: The blades should cover the intended sweep area without hitting the windshield trim or each other.
Frequently Asked Questions About Wiper Replacement
- Q: Do I need special tools to replace wiper blades?
- A: For most modern vehicles, no special tools are required. Your hands are typically enough. A small flathead screwdriver might be useful for some older or specific connector types, but it's not universally needed.
- Q: Why are my new wiper blades streaking?
- A: New blades can streak due to several reasons: incorrect installation (not fully seated), a dirty windshield, or manufacturing defects in the blade itself. Ensure your windshield is clean and the blades are correctly installed.
- Q: Can I use different length wiper blades than the manufacturer recommends?
- A: While a minor difference (e.g., 1 inch shorter) might not cause issues, it's generally best to stick to the manufacturer's recommended lengths. Incorrect lengths can lead to reduced coverage, blades hitting each other, or contacting the windshield frame.