
Knowing when to change your car's engine oil is a fundamental aspect of vehicle ownership, directly impacting your engine's longevity and performance. For many new drivers or those unfamiliar with basic automotive care, the recommended intervals can seem confusing, varying widely based on vehicle type, oil grade, and driving habits.

The Core Importance of Engine Oil
Engine oil serves multiple vital functions within your car's power plant. It lubricates moving parts to reduce friction, dissipates heat generated by combustion and friction, cleans the engine by suspending contaminants, and helps seal the piston rings. Over time, oil degrades, losing its viscosity and ability to perform these tasks effectively. This degradation is primarily due to heat, oxidation, and contamination from combustion byproducts. Neglecting regular oil changes can lead to increased engine wear, reduced fuel efficiency, and ultimately, costly engine damage.
Essential Preparations for an Oil Change
Before you even think about cracking open a wrench, gathering the right supplies is crucial for a smooth and successful oil change. Having everything ready minimizes downtime and potential frustration.
Required Supplies:
- New Engine Oil: Consult your owner's manual for the correct viscosity (e.g., 5W-30, 0W-20) and specification (e.g., API SN, Dexos).
- New Oil Filter: Ensure it's the correct filter for your specific make and model.
- Oil Drain Pan: Large enough to hold all the old oil.
- Funnel: For pouring new oil without spills.
- Wrench Set/Socket Set: To remove the drain plug and oil filter.
- Oil Filter Wrench: Specifically designed for removing stubborn oil filters.
- Rags or Shop Towels: For inevitable spills.
- Gloves: To protect your hands from oil and grime.
- Jack and Jack Stands OR Car Ramps: For safely elevating the vehicle.
- Wheel Chocks: To prevent the vehicle from rolling.
- Safety Glasses: To protect your eyes.
Determining Your Car's Ideal Oil Change Interval
The days of a universal 3,000-mile oil change are largely a thing of the past. Modern engines, advanced oil formulations, and sophisticated oil life monitoring systems mean intervals can vary significantly. The most accurate information will always come from your vehicle's owner's manual.
Generally, manufacturers specify intervals based on mileage or time, whichever comes first. For many modern vehicles using synthetic oil, this can range from 7,500 to 10,000 miles, or every 6 to 12 months. However, "severe driving conditions" often warrant shorter intervals. These conditions include:
- Frequent short trips (less than 10 miles)
- Driving in extreme temperatures (very hot or very cold)
- Towing or hauling heavy loads
- Driving on dusty or unpaved roads
- Extended periods of idling or stop-and-go traffic
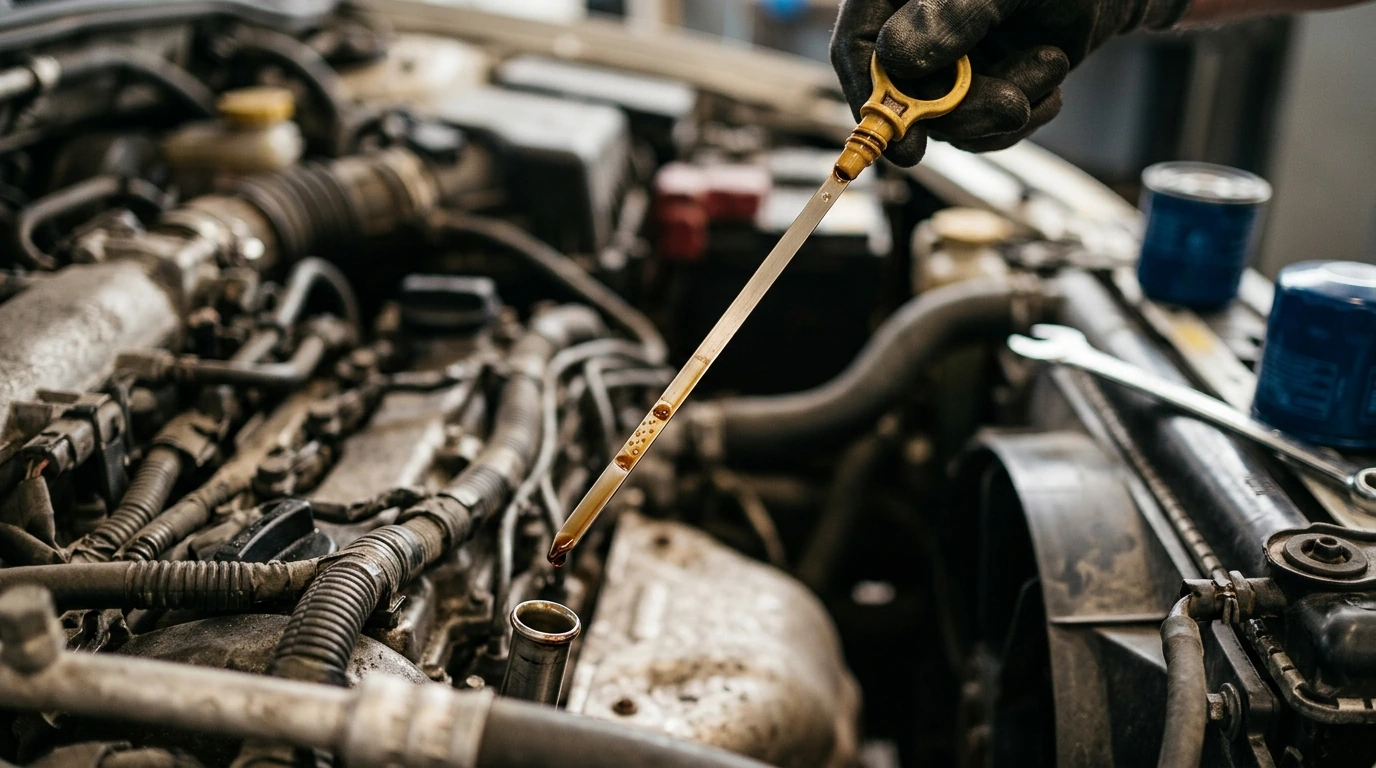
Many newer vehicles also feature an Oil Life Monitoring System (OLMS) that uses algorithms based on driving conditions, engine temperature, and mileage to estimate oil degradation. When the system indicates 15-20% oil life remaining, it's time to schedule a change.
Typical Oil Change Intervals by Oil Type
While your owner's manual is paramount, understanding the general capabilities of different oil types can provide helpful context:
| Oil Type | Typical Mileage Interval | Typical Time Interval | Common Applications |
|---|---|---|---|
| Conventional (Mineral) Oil | 3,000 - 5,000 miles | 3 - 6 months | Older vehicles, light-duty driving, budget-conscious maintenance |
| Synthetic Blend Oil | 5,000 - 7,500 miles | 6 - 9 months | Many modern vehicles, balancing performance and cost |
| Full Synthetic Oil | 7,500 - 15,000+ miles | 6 - 12+ months | High-performance engines, turbocharged engines, severe driving conditions, vehicles with OLMS |
Executing the Oil Change Safely and Effectively
Once you've determined the correct interval and gathered your supplies, performing the oil change involves a series of methodical steps.
- Warm Up the Engine: Drive the car for 5-10 minutes to warm the oil. Warm oil drains more completely.
- Park and Secure the Vehicle: Park on a level surface, engage the parking brake, and place wheel chocks.
- Lift the Vehicle Safely: Use a jack and place jack stands under the vehicle's frame at designated lift points. Never work under a car supported only by a jack. Alternatively, drive onto car ramps.
- Locate the Drain Plug and Oil Filter: Refer to your owner's manual for their exact positions, usually on the underside of the engine.
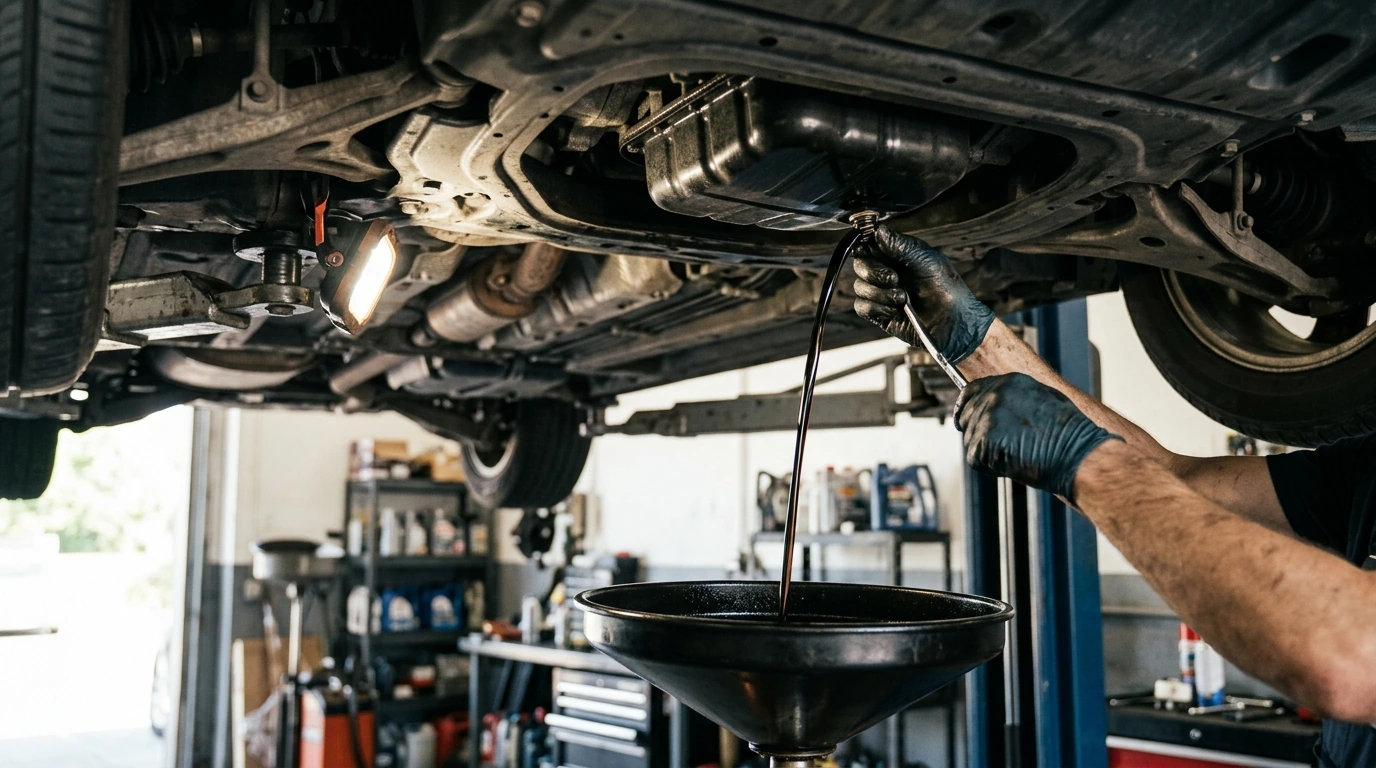
- Drain the Old Oil: Place the drain pan directly under the drain plug. Using the correct wrench, carefully loosen and remove the drain plug. Allow all the old oil to drain completely, which can take 10-15 minutes.
- Replace the Drain Plug: Once drained, clean the drain plug and its washer (replace the washer if recommended by the manufacturer) and reinstall it. Tighten to the manufacturer's specified torque.
- Remove the Old Oil Filter: Position the drain pan under the oil filter. Use an oil filter wrench to loosen and remove the filter. Be prepared for a small amount of oil to spill.
- Prepare and Install the New Oil Filter: Apply a thin film of new engine oil to the rubber gasket of the new filter. Screw the new filter on by hand until the gasket makes contact, then tighten an additional 3/4 to 1 full turn, or as specified by the filter manufacturer. Do not overtighten.
- Lower the Vehicle: Carefully remove the jack stands (or drive off ramps) and lower the vehicle to the ground.
- Add New Engine Oil: Open the oil filler cap (usually marked with an oil can symbol) and place a funnel in the opening. Pour in the specified amount of new oil, typically 4-6 quarts, as indicated in your owner's manual.
- Check Oil Level: After adding the oil, wait a few minutes for it to settle. Pull out the dipstick, wipe it clean, reinsert it fully, then pull it out again to check the level. It should be between the "add" and "full" marks.
- Start the Engine: Start the engine and let it run for a minute or two. Check for any leaks around the drain plug or oil filter. The oil pressure light should turn off.
Common Pitfalls to Steer Clear Of
Even a seemingly straightforward task like an oil change can go wrong if proper care isn't taken. Being aware of these common mistakes can save you a headache and potential engine damage.
- Using the Wrong Oil: Incorrect viscosity or specification can lead to poor lubrication, increased wear, and reduced fuel efficiency. Always double-check your owner's manual.
- Overtightening the Drain Plug or Filter: This can strip threads or damage the filter, leading to leaks or making future removal extremely difficult. Always use a torque wrench for the drain plug if possible.
- Forgetting to Replace the Drain Plug or Filter: A catastrophic error that will quickly drain all your engine oil, leading to severe engine damage.
- Not Replacing the Drain Plug Washer: The crush washer creates a seal. If it's old or damaged, it won't seal properly, resulting in leaks.
- Working Under an Unsafely Supported Vehicle: Never rely solely on a jack. Always use jack stands or sturdy ramps.
- Overfilling or Underfilling Oil: Both can cause problems. Too much oil can lead to foaming and reduced lubrication, while too little can starve the engine of oil. Always fill gradually and check the dipstick.
- Improper Disposal of Used Oil: Used engine oil is a hazardous waste. Never pour it down a drain or dispose of it in regular trash. Most auto parts stores or service stations offer free recycling.
PRO TIP: Always Recycle Your Used Oil!
Used engine oil is a significant environmental pollutant. Collect it in a sealed container and take it to an authorized recycling center, auto parts store, or service station. This simple act protects our environment and ensures proper disposal.
Post-Service Checks for Peace of Mind
After completing the oil change, a few final checks ensure everything is in order and your car is ready to go.
- Re-Check Oil Level: After running the engine for a minute or two, turn it off, wait 5-10 minutes for the oil to settle, then check the dipstick again. Adjust if necessary.
- Inspect for Leaks: Look under the vehicle for any drips around the drain plug or oil filter. A small leak can quickly become a big problem.
- Reset the Oil Life Monitor: If your vehicle has an OLMS, follow the instructions in your owner's manual to reset it. This ensures accurate tracking for your next service.
- Note the Mileage: Record the date and mileage of the oil change. This helps you track your next service interval.
Frequently Asked Questions About Oil Changes
- Q: Can I mix different types of engine oil?
- A: While technically possible, it's generally not recommended. Mixing different oil types (e.g., conventional and synthetic) can dilute the protective properties of the higher-grade oil and may not provide the full benefits. Stick to one type and brand if possible.
- Q: What happens if I go too long without an oil change?
- A: Neglecting oil changes leads to oil breakdown, reduced lubrication, and increased friction. This accelerates engine wear, can cause sludge buildup, diminish fuel economy, and potentially result in costly engine damage or failure over time.
- Q: Do I need to change my oil filter every time I change the oil?
- A: Yes, it is highly recommended to replace the oil filter with every oil change. The filter traps contaminants, and a new filter ensures optimal filtration for the fresh oil, maximizing its lifespan and protective qualities.
- Q: Is synthetic oil worth the extra cost?
- A: For most modern vehicles, especially those with turbocharged engines or high mileage, synthetic oil offers superior protection, better performance in extreme temperatures, and longer drain intervals compared to conventional oil. While it costs more upfront, its benefits often outweigh the additional expense in terms of engine longevity and reduced maintenance frequency.