
Understanding your car's oil change needs is a fundamental aspect of responsible vehicle ownership, especially for new drivers. The engine oil serves as the lifeblood of your vehicle, performing critical functions that directly impact performance and longevity. Getting the interval right can save you from costly repairs down the road.

Key Takeaways
- Always consult your vehicle's owner's manual for precise oil type and interval recommendations.
- Modern vehicles and synthetic oils often allow for longer oil change intervals than older standards.
- Driving conditions (e.g., heavy traffic, extreme temperatures) can necessitate more frequent oil changes.
- Regular oil changes prevent engine wear, maintain fuel efficiency, and extend your car's lifespan.
Why Engine Oil Matters So Much
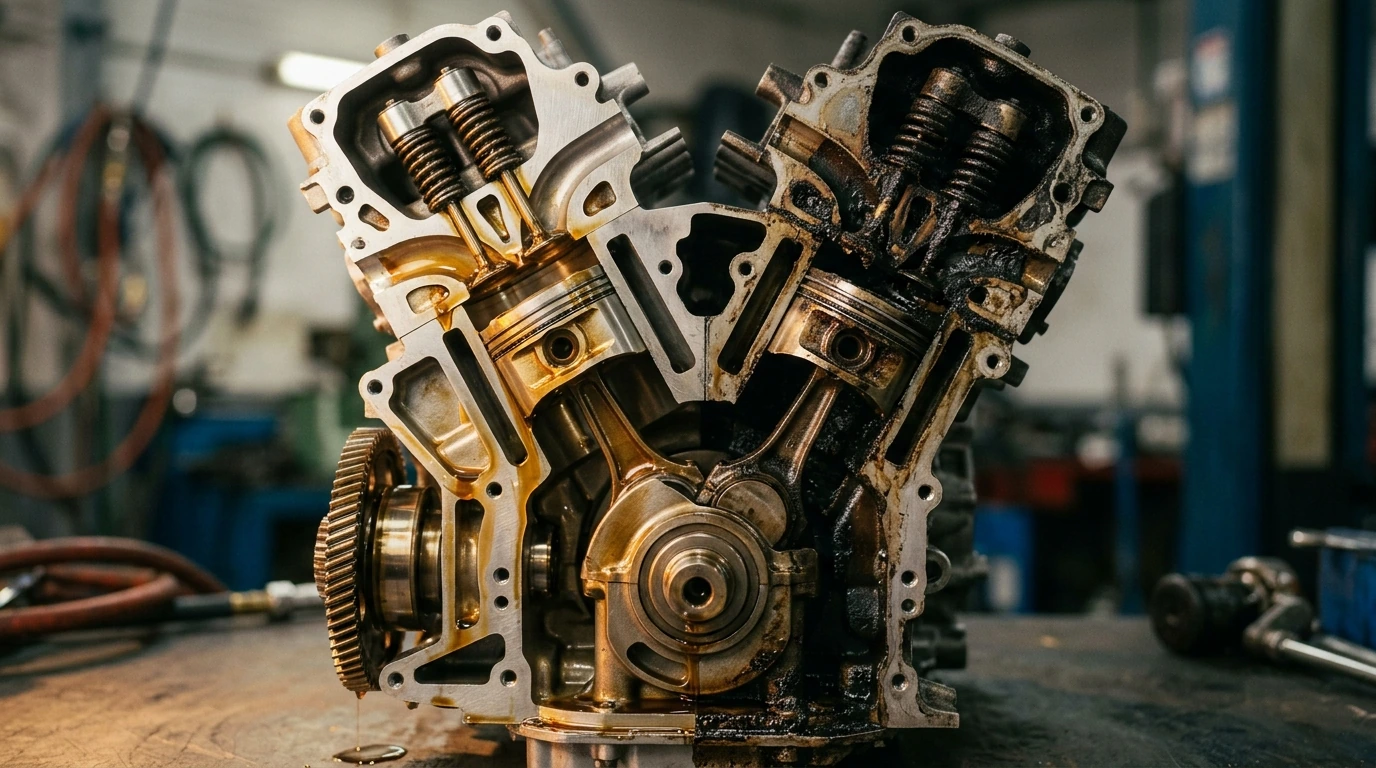
Your engine consists of numerous moving parts that create friction and heat. Engine oil's primary role is to lubricate these components, reducing wear and tear. Beyond lubrication, it also helps cool the engine by carrying heat away from hot areas, cleans by suspending dirt and contaminants, and protects against corrosion. Over time, oil degrades, breaking down under heat and accumulating impurities, which diminishes its ability to perform these vital functions. This degradation leads to increased friction, sludge buildup, and potential engine damage.
Decoding Your Vehicle's Ideal Oil Change Interval
The most accurate information regarding your specific vehicle's oil change frequency comes directly from the manufacturer. This data is detailed in your car's owner's manual. Historically, a common recommendation was every 3,000 miles or three months. However, advancements in engine technology and oil formulations, particularly with synthetic oils, have significantly extended these intervals.
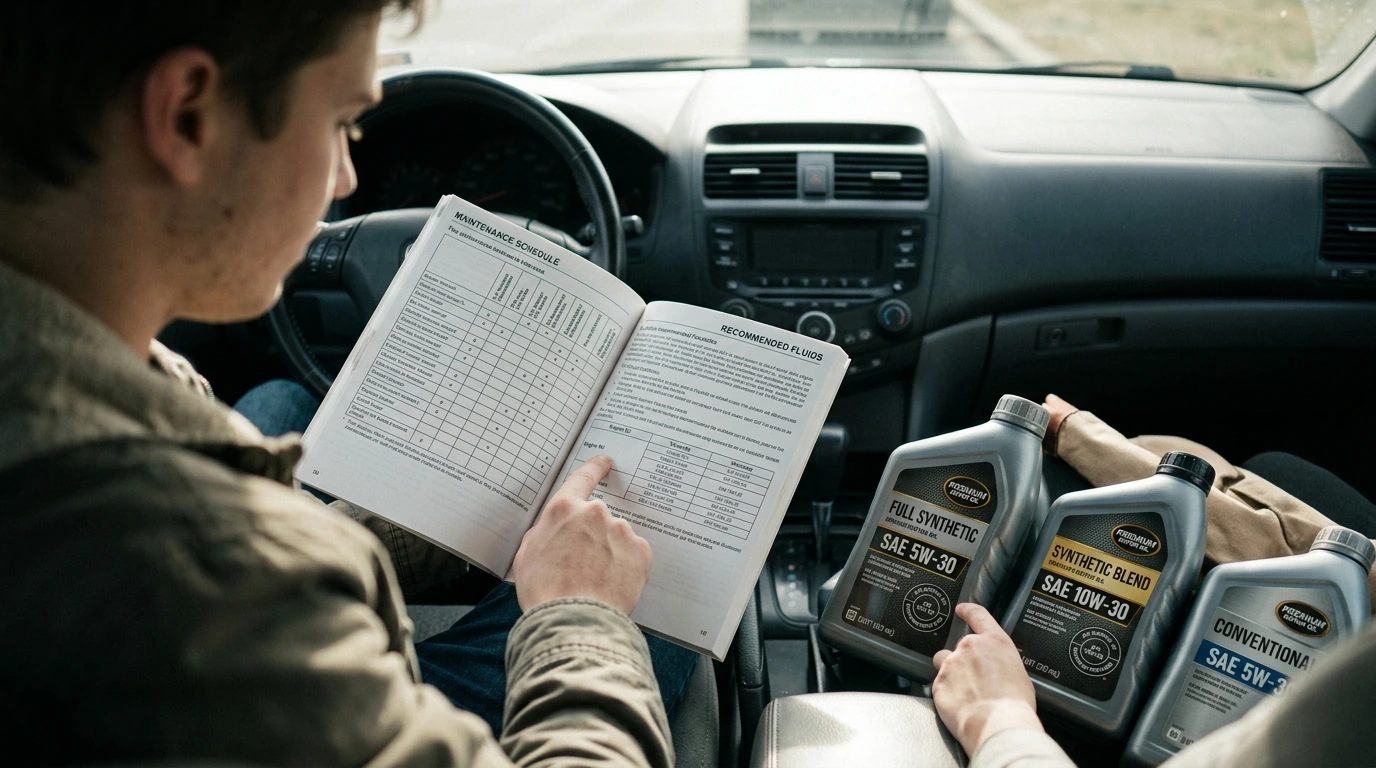
- Owner's Manual: This is your definitive source. Manufacturers typically provide both a standard interval and a "severe service" interval.
- Oil Type: Conventional oil generally requires more frequent changes (e.g., 3,000-5,000 miles). Synthetic blend oils offer improved performance and slightly longer intervals (e.g., 5,000-7,500 miles). Full synthetic oils, known for their superior protection and stability, often allow for the longest intervals (e.g., 7,500-15,000 miles or even more, depending on the vehicle and oil brand).
- Driving Conditions: "Severe service" conditions include frequent short trips (under 10 miles), stop-and-go city driving, towing, driving in extreme heat or cold, or dusty environments. If your driving largely falls into these categories, adhering to the shorter, "severe service" interval recommended in your manual is prudent.
- Oil Life Monitoring Systems: Many modern vehicles are equipped with an Oil Life Monitoring (OLM) system. This system uses algorithms based on driving conditions, engine temperature, and RPM to calculate when an oil change is due. Trusting this system, in conjunction with your manual, is generally an excellent approach.
PRO TIP: Synthetic vs. Conventional
While synthetic oils often have a higher upfront cost, their extended lifespan and superior protection against wear and thermal breakdown can offer better value over time. They are particularly beneficial for modern turbocharged engines and vehicles operating under demanding conditions.
Preparing for Your Oil Service: Tools and Essentials
If you plan to perform the oil change yourself, gathering the right tools and supplies beforehand is essential for a smooth process. Safety should always be your top priority.
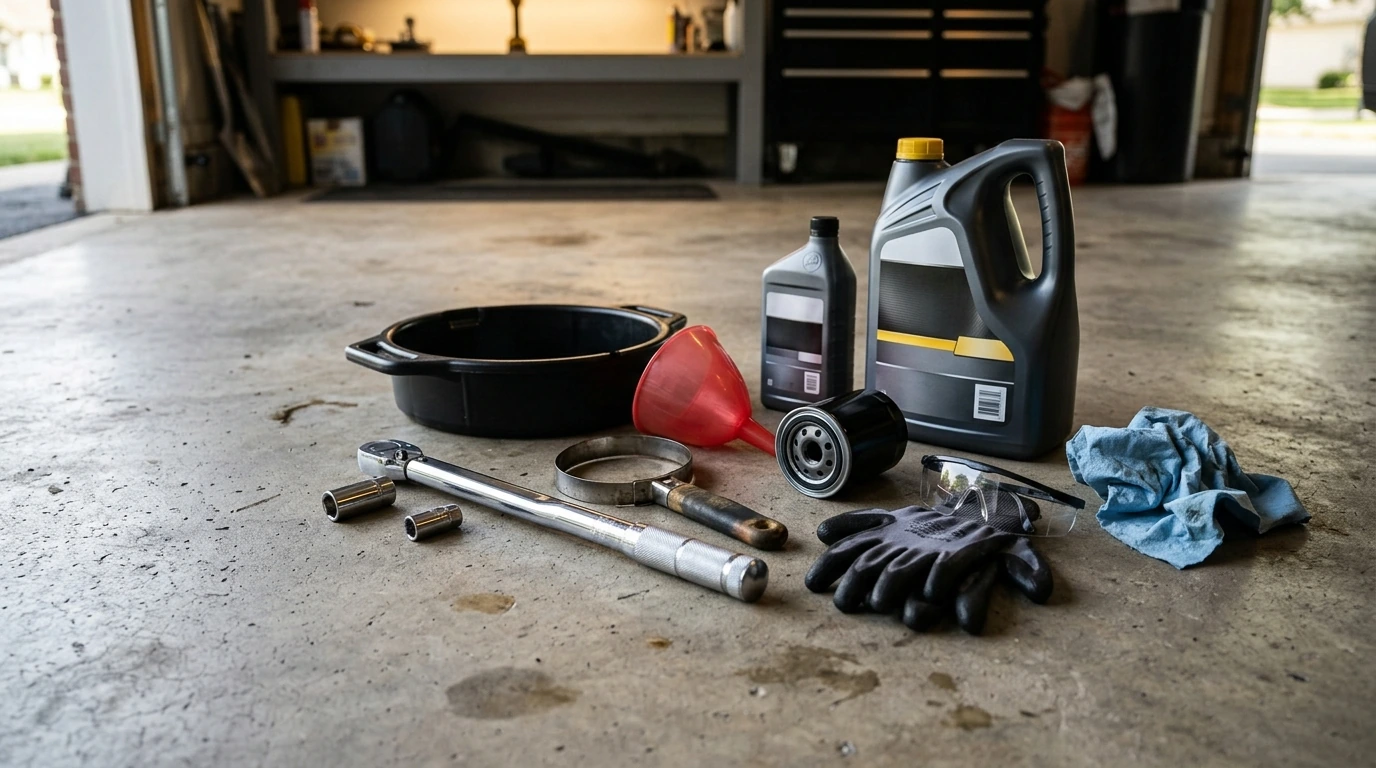
- New Engine Oil: The correct type and viscosity as specified in your owner's manual.
- New Oil Filter: Ensure it's the correct filter for your vehicle's make and model.
- Drain Pan: Large enough to hold all the old oil (check your manual for oil capacity).
- Wrench Set: For the drain plug (usually a socket or box-end wrench).
- Oil Filter Wrench: A specialized tool to remove the old oil filter.
- Funnel: To pour new oil without spills.
- Jack and Jack Stands: To safely lift and support your vehicle. Never work under a car supported only by a jack.
- Gloves and Eye Protection: For personal safety.
- Rags or Shop Towels: For cleaning up spills.
- Container for Used Oil: For proper disposal; many auto parts stores accept used oil for recycling.
Executing the Oil Change: A Detailed Walkthrough
Performing an oil change is a straightforward process when done carefully. Ensure your vehicle has been driven briefly to warm the oil, but not so hot that it's dangerous to handle.
- Prepare the Vehicle: Park on a level surface, engage the parking brake, and block the wheels. Safely lift the front of the vehicle using a jack and secure it with jack stands.
- Locate Drain Plug: Position the drain pan directly under the oil pan drain plug, typically at the lowest point of the oil pan.
- Drain Old Oil: Using the correct wrench, carefully loosen and remove the drain plug. Allow all the old oil to drain completely into the pan. This usually takes 10-15 minutes.
- Replace Drain Plug: Once drained, clean the drain plug and its washer (replace the washer if recommended by the manufacturer). Reinstall the drain plug and tighten it to the manufacturer's specified torque.
- Remove Old Filter: Move the drain pan under the oil filter. Use an oil filter wrench to loosen and remove the old filter. Be prepared for additional oil to drain.
- Prepare New Filter: Apply a thin film of new engine oil to the rubber gasket of the new oil filter. This helps ensure a good seal.
- Install New Filter: Hand-tighten the new oil filter until the gasket makes contact, then turn it an additional 3/4 to one full turn. Do not overtighten.
- Add New Oil: Lower the vehicle. Using a funnel, slowly pour the specified amount of new oil into the engine's oil filler cap.
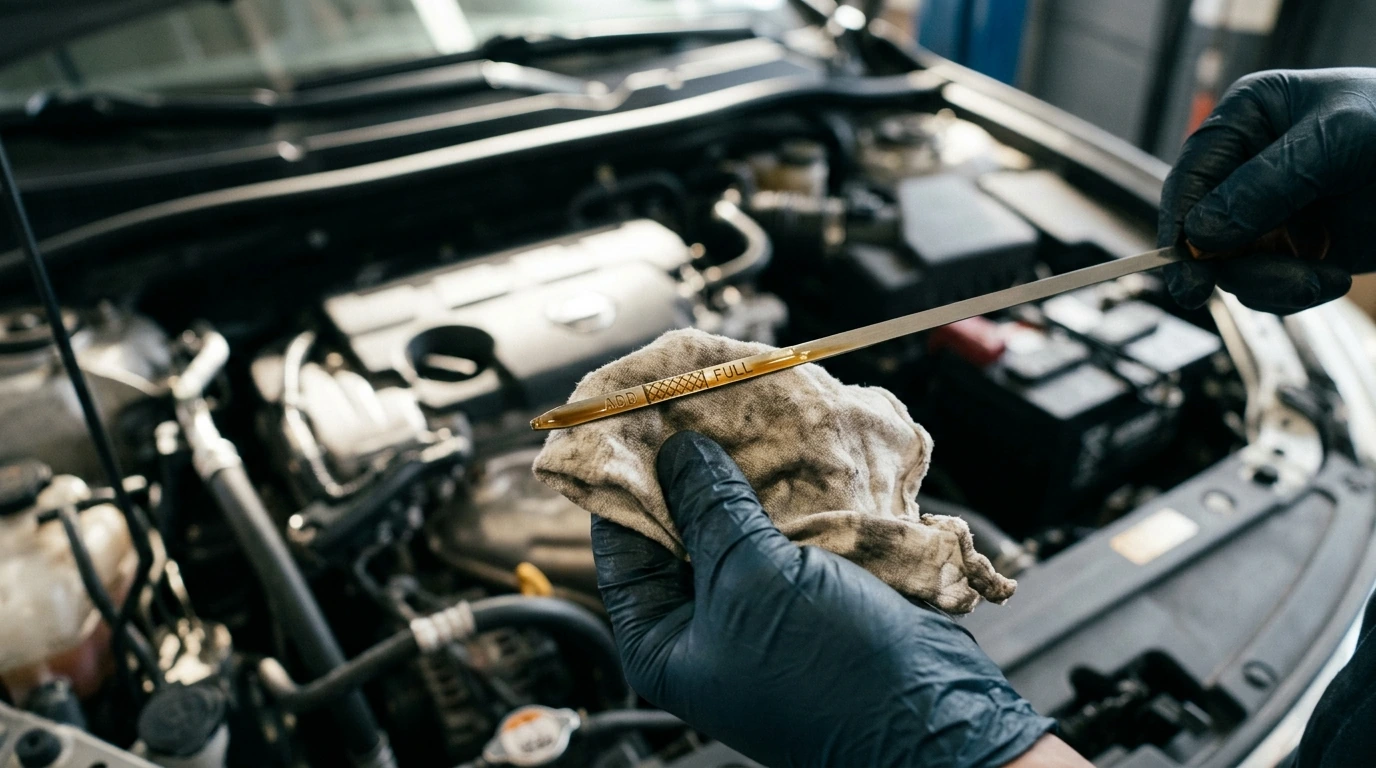
- Check Oil Level: Wait a few minutes for the oil to settle. Use the dipstick to check the oil level. Add more oil if needed, ensuring it's between the "add" and "full" marks.
- Start Engine & Check for Leaks: Start the engine and let it run for a minute to circulate the new oil. Check for any leaks around the drain plug or oil filter. Shut off the engine and recheck the oil level after a few minutes, topping off if necessary.
- Reset Oil Life Monitor: If your vehicle has an OLM, follow the instructions in your owner's manual to reset it.
Steering Clear of Common Oil Change Errors
Even experienced individuals can make mistakes during an oil change. For beginners, awareness of common pitfalls is particularly important:
- Overtightening the Drain Plug or Filter: This can strip threads or damage the filter, leading to leaks or making future removal difficult. Always use a torque wrench for the drain plug if specified, and hand-tighten the filter.
- Using the Wrong Oil Type or Viscosity: Incorrect oil can lead to poor lubrication, reduced fuel efficiency, and long-term engine damage. Refer strictly to your owner's manual.
- Forgetting to Reinstall the Drain Plug: An obvious but catastrophic error. Always double-check.
- Not Replacing the Oil Filter: A new filter is crucial to catch contaminants. Skipping this step defeats much of the purpose of an oil change.
- Incorrectly Seating the Oil Filter Gasket: If the old gasket sticks to the engine block and a new filter is installed over it, it will cause a significant leak. Always ensure the old gasket is removed.
- Overfilling or Underfilling Oil: Both can be detrimental. Overfilling can cause foaming and pressure issues, while underfilling leads to insufficient lubrication. Always use the dipstick for accurate measurement.
Ensuring a Flawless Post-Service Check
After completing the oil change, a final verification ensures everything is in order and prevents potential issues.
- Check for Leaks: After starting the engine and letting it run for a few minutes, visually inspect the area under the vehicle for any drips around the drain plug or oil filter.
- Verify Oil Level: Turn off the engine, wait 5-10 minutes for the oil to settle, then recheck the dipstick. The oil level should be within the safe operating range.
- Dispose of Used Oil: Properly dispose of the old engine oil at an authorized recycling center or auto parts store. Never pour it down a drain or into the environment.
- Note Mileage: Record the date and mileage of the oil change for future reference. This helps track your next service interval.
- Reset Maintenance Light: If your vehicle has an oil change reminder light, ensure it has been reset according to your owner's manual.