
Whether commuting through congested urban grids or clocking long highway touring miles, declining fuel economy is an early warning system for mechanical drag, fuel delivery drift, and parasitic engine losses. Getting more miles out of every gallon does not require sacrificing engine responsiveness; it demands restoring factory tolerances and refining how mechanical power translates to road propulsion.
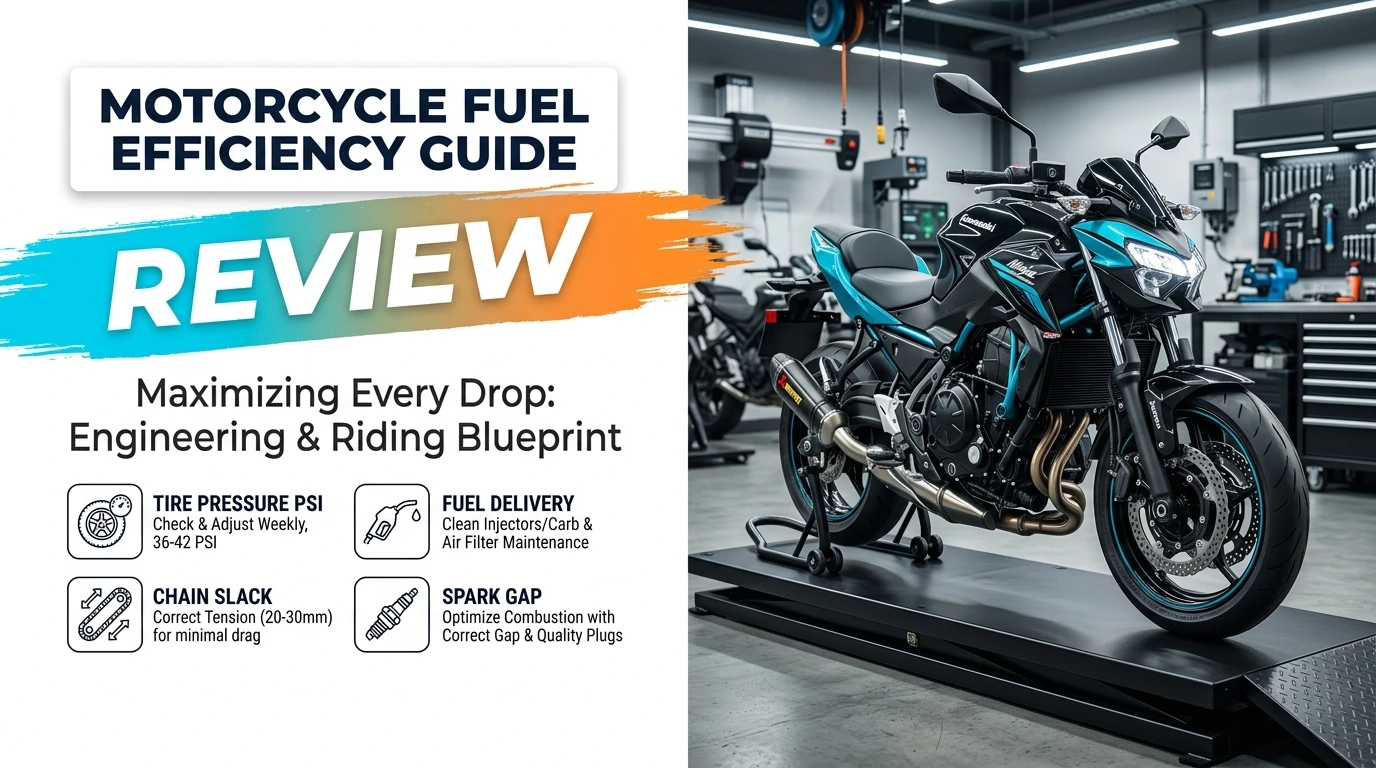
Required Prerequisites & Diagnostic Tools Checklist
Before initiating adjustments, ensure you have the correct equipment on your bench to measure tolerances accurately:
- Calibrated Digital Tire Pressure Gauge: To measure cold inflation within 0.5 PSI accuracy.
- Chain Tension Gauge or Steel Rule: For verifying drive chain free-play against swingarm specifications.
- Spark Plug Gap Feeler Gauge & Socket: To inspect electrode erosion and gap clearance.
- Solvent & Dedicated Chain Lubricant: Non-tacky synthetic or wax formula to eliminate drivetrain resistance.
- Multimeter / Diagnostic Scan Tool (for EFI bikes): For verifying O2 sensor and throttle position sensor (TPS) output voltages.
- OEM Service Manual: To reference model-specific torque limits, clearances, and air-fuel balance parameters.
Step-by-Step Optimization Guide
Step 1: Eliminate Rolling Resistance via Tire PSI & Alignment
Under-inflated tires are the single largest source of unaccounted fuel consumption on two wheels. A drop of just 4 to 5 PSI increases the tire's contact patch deformity, drastically increasing rolling friction and tire carcass operating temperatures.
- Check cold tire pressures before riding using your calibrated gauge. Match exact OEM recommendations found on the swingarm placard, accounting for solo or two-up riding.
- Inspect wheel axle alignment marks on both sides of the swingarm. Misaligned wheels cause scrub friction, which bleeds kinetic energy continuously.
- Spin both front and rear wheels on a paddock stand. Ensure disc brake pads are not dragging against the rotors due to sticky caliper slide pins or swollen piston seals.
Step 2: Clean the Air Intake and Synchronize Throttle Bodies
An engine choked for air creates a richer combustion state or forces electronic control units (ECUs) into compromised fueling maps to prevent stalling.
- Remove the fuel tank access bolts and inspect the air filter element. Replace paper elements if darkened, or clean and lightly re-oil foam/cotton gauze filters according to manufacturer instructions.
- Inspect the throttle body plates (or carburetor slides) for carbon varnish deposits. Use a dedicated throttle plate cleaner to remove gummed oil mist vented from the crankcase breather.
- On multi-cylinder machines, connect a vacuum manometer setup to balance intake vacuum at idle. Synchronized cylinders produce equal torque per stroke, eliminating internal mechanical opposition.
Step 3: Service Drivetrain Tension and Lubrication
A neglected drive chain acts as a mechanical sponge, absorbing engine power before it reaches the rear wheel sprocket.
- Clean the chain thoroughly using dedicated chain cleaner and a three-sided brush to strip road grit and accumulated paste. Avoid harsh petrochemical solvents that degrade internal O-rings or X-rings.
- Measure mid-span chain slack on the lower run with the bike on its sidestand (or per manual directions). Adjust axle tensioner bolts until slack matches the exact manufacturer window (typically 25 mm to 35 mm).
- Apply a thin coat of synthetic chain wax while the chain is warm after a short ride. Let it tack up for 30 minutes to eliminate fling and maintain minimal inter-link friction.
Step 4: Inspect Spark Ignition Health and Gap Calibration
Partial combustion directly discharges unburnt hydrocarbons out the exhaust valve, wasting fuel volume per power stroke.
- Extract the spark plugs and examine electrode coloration. A healthy plug shows a light tan or light gray deposit. Dark sooty deposits indicate a rich mixture or weak ignition output.
- Measure the spark plug gap using a wire feeler gauge. Over time, spark erosion widens this gap, demanding higher secondary coil voltage and causing intermittent high-RPM misfires.
- Re-gap to factory specification or replace with Iridium-tipped plugs, which offer a more focused flame kernel initiation with lower electrical resistance.
Step 5: Calibrate Riding Habits for Aerodynamic Efficiency
Mechanical precision provides the baseline; rider behavior dictates operational consumption. Aerodynamic drag on a motorcycle increases exponentially with speed ($F_d \propto v^2$).
- Optimize Highway Cruising: Cruising at 65 MPH instead of 80 MPH often decreases aerodynamic resistance by more than 30%, yielding immediate double-digit range increases.
- Keep RPM in the Torque Band: Avoid lugging the engine at excessively low RPMs under wide throttle, which induces detonation and inefficient combustion, and avoid unnecessary high-RPM engine braking.
- Streamline Riding Posture: Keep knees tucked close against the fuel tank cutouts and avoid flapping, loose textile garments on high-speed runs.
Comparative Impact Analysis
The table below summarizes the measurable impact of each maintenance variable on motorcycle fuel consumption based on standardized road-load dyno and real-world testing.
| Adjustment Category | Sub-Optimal Condition | Optimized Specification | Estimated MPG Recovery |
|---|---|---|---|
| Tire Inflation | 5–8 PSI under factory rating | Cold OEM swingarm spec | +4% to +7% |
| Drive Chain State | Dry, rusted, overtightened | Cleaned, waxed, 30mm slack | +3% to +5% |
| Intake / Air Filter | Partially clogged element | Fresh OEM or clean performance filter | +2% to +6% |
| Cruising Speed | 80+ MPH aggressive pacing | 60–65 MPH smooth cruising | +12% to +20% |
Critical Pitfalls to Avoid
- Over-Inflating Tires for Lower Friction: Pumping tires beyond factory limits to reduce rolling drag severely shrinks the contact patch, degrading wet-weather braking grip and cornering stability.
- Over-Leaning the Fuel Mixture: Do not install lean fuel-mapping dongles or excessively restrict fuel jets to save gas. Running dangerously lean elevates cylinder head temperatures and burns exhaust valves.
- Lugging the Engine at Low RPM: Shifting into high gears prematurely under heavy throttle forces the engine to operate inefficiently, wasting fuel and placing high shock loads on connecting rod bearings.
Post-Implementation Verification Checklist
Confirm your improvements using empirical verification methods over subsequent rides:
- Conduct a Baseline Tank-to-Tank Test: Fill the tank to the base of the neck, reset the trip meter, ride normal routes, then divide actual miles ridden by exact gallons added at the next fill.
- Rolling Resistance Roll-Out Test: On a flat, empty garage surface, push the bike by hand in neutral. Resistance should feel light, with no brake squeal or chain link clicking.
- Check Wheel Hub Temperatures: After a 20-minute ride, place a hand carefully near the wheel hubs and brake calipers. Excessive heat indicates dragging brake pads or failing wheel bearings.
Frequently Asked Questions
Does running premium high-octane fuel improve motorcycle MPG?
Only if your motorcycle's engine compression ratio specifically requires it. Higher octane fuel does not contain more potential chemical energy; it simply resists pre-ignition (knock). Running 93 octane in an engine mapped and designed for 87 octane provides zero fuel economy benefit and can leave unburnt carbon deposits over time.
How much fuel efficiency is lost with soft luggage or panniers?
Bulky saddlebags and top boxes increase aerodynamic profile significantly at speeds over 50 MPH, reducing fuel economy by roughly 8% to 15%. Remove hard luggage when commuting unladen to immediately reduce frontal surface area and weight.
Can dirty engine oil reduce fuel efficiency on a motorcycle?
Yes. Degraded engine oil loses shear stability and accumulates contaminants, increasing viscous drag within the crankcase, clutch pack, and transmission gearbox. Fresh oil of the proper OEM viscosity (e.g., 10W-40 JASO-MA2) restores optimal hydro-dynamic lubrication and reduces internal mechanical friction.